An amazing way to make candles, from the model to a silicone mold, to pouring the wax.
Getting the initial model right is laying the foundation for success. Without a solid model to start, everything going forward could be lost. So, set ourselves up for success with a well-crafted model.
I/We promote transparency. This post or site may contain affiliate links. This means only if you make a purchase through these links, not just by clicking, I/we may earn a small commission at no extra cost to you.
As an Amazon Associate, I earn from qualifying purchases
An Amazing Way To Make Candles Begins With Your Model
The choice of materials is your first major decision. You can use clay, wax, or even a 3D printer for your model if you’re tech-savvy. Each material has its quirks. Clay might be easier to mold by hand, wax gives you a more candle-like finish right from the get-go, and 3D printing can nail intricate details.
Finding something in a thrift store, whether broken or not could give you a great starting point if you are using clay or wax for your model, and help to keep your model rigid.
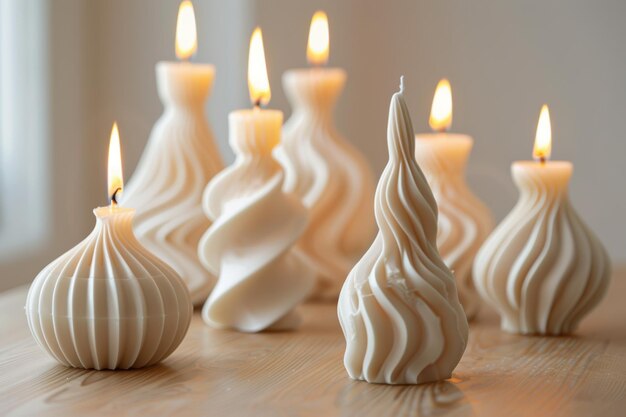
Sculpting or Carving Is An Amazing Way To Make Candles.
Sculpting or carving the model involves some artistry and a lot of patience. But it will truly be your own work. If you’re using clay, keep a bowl of water nearby to keep it moist and workable. Wax can be trickier because it hardens. Keeping a heat gun handy is good for wax. Consider polystyrene or plaster too.
3D Printing Is An Amazing Way To Make Candles
3D printing, as to be the easiest if you are computer savvy and have such a printer. Your main concern here is nailing the design on the computer before hitting ‘print’. You can spend a lot of time with programs like Corel Draw to design your model. But it is then saved for future repeat use or modification.
Detailing Matters To Make Your Candle Stand Out.
Details matter, especially when it comes to textures and fine lines. Small tools can help carve intricate details. For instance, dental tools (can be bought online) are great for fine lines in clay or wax. A good trick for adding texture is to press something textured (like a piece of fabric) onto your model for a few seconds.
You can buy inexpensive to very expensive tools for this job, checking out your kitchen draw could reveal some effect tools. Depending on your material a rotary tool is a good fit to.
An Amazing Way To Make Candles Using A Picture Or Sketch.
Scale and symmetry are key. Make sure every part of your design is proportional. Use a small ruler or a pair of calipers to measure and ensure each side matches. This might seem tedious, but it’s worth it to avoid the ‘leaning tower of Pisa’ effect in your final candle.
If you followed the advice above and visited the thrift store, you would already be over this concern.
An Amazing Way To Make Candles Is Just To Take Your Time.
Don’t rush the modelling process. It’s common to make mistakes—everyone does. They want to get to the final piece. If you mess up, patch it in, smooth it out and try again. Keep a positive mindset and remember, practice makes perfect. Master the art of model making, and you’ll have a solid base for all your future candle adventures. The next steps to become a little easier.
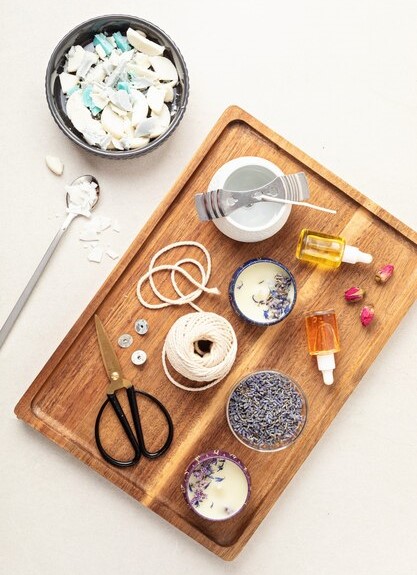
An Amazing Way To Make Candles From The Model To The Silicone Mold
Silicone molds are game-changers for candle makers. They let you create multiple candles from a single model, capturing all the intricate details you worked so hard on. Let’s break down the process step-by-step.
Prepping Your Model In An Amazing Way To Make Candles
Start with your model, making sure it’s clean and dry. Free of any dust or oils as some oils can affect how well the mold sets. Remember the silicone will reflect the exact surface you leave on your model, it it’s shiny them your mold surface will be too and your production pieces, thus providing better results.
How To Make The Mold Box
Next, build a mold box around your model using LEGO bricks or make one; the goal is to have a sturdy container to hold the silicone in place while it sets and leak-free, so stick and seal your model to the base and stick your frame down, then seal the corners and the base.
Try to make your box just big enough to allow 3/8″ 10mm at the closest point. Put filler pieces in your box to fill any big areas, silicone is nowhere near as cheap as wood. Any material that has a smooth or shiny surface is easy to use for the box.
Final Surface Check In An Amazing Way To Make Candles Is Top Priority
Make sure your finished model has a suitable finished surface to reflect the finish you want, but also to stop the silicone from sticking to certain materials. Spray a release agent on your model and at least on the inside of your retaining box, which should also be sealed and levelled before pouring.
In An Amazing Way To Make Candles & Which Silicone To Use.
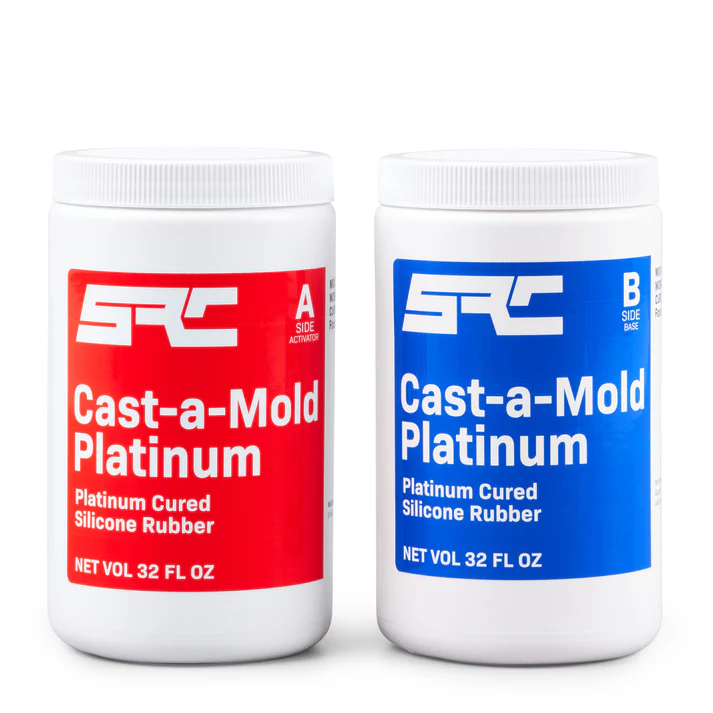
You’ll need a 2 part liquid silicone kit. And there are many to choose from, my choice has always been a food-grade silicone for this task. Don’t forget a mixing bowl/pot and spatula. Following the instructions on the kit, weigh and mix the 2 parts of the silicone together thoroughly. Visit our other post on silicone too. Make sure to scrape the sides and bottom of the bowl to get the perfect mix, or you could end up with soft spots or other flaws in your finished mold.
Pour The Silicone Very Slowly In An Amazing Way To Make Candles
Pour the silicone mix slowly into the mold box. Start at the lowest point and let it rise slowly and naturally, covering your model completely. Slow and steady wins the race here—pouring too fast can trap air bubbles, ruining the mold. For best results, use a stick to guide the flow or the back of a spoon, and pop any visible bubbles with a toothpick. This should not be necessary with the better quality silicones.
Take A Break While You Wait.
In an amazing way to make candles, patience is crucial while the silicone cures. Depending on the brand, it could take anywhere from a few hours to a full day. Make sure the space where you are working stays within the required temperatures, or it might never cure. Check the instructions and set your timer accordingly. Your job isn’t done yet; keep the mold covered loosely while it cures.
Removing The Model From The Cured Silicone
It is an amazing way to make candles and when the curing time is up, you need to very gently remove the model. If you’re struggling, don’t force it—use a hobby knife to carefully cut the mold open creating a seam line in the least visible place as it may show up in later pours. Do this just enough to wiggle the model out. Once it’s out, you have your silicone mold, ready to produce numerous perfect candles.
If you have to break or pull the model apart, because it’s made of soft materials, don’t even worry about it, just make sure to pour a new model in plaster or resin first from your new mold, so you have a copy for your mold library.
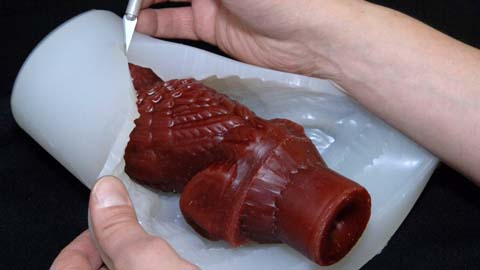
Any Errors In The Mold
Remember, in an amazing way to make candles, even pros encounter hiccups. If your mold has imperfections, don’t sweat it. You can repair some issues with a bit of fresh silicone, or if it’s a disaster, learn from it and try again. Each mistake is just another step towards mastering the art of candle making. You can always incorporate some of the hard silicone into new molds.
In An Amazing Way To Make Candles Setting Up the Wicks: A Crucial Step Before Pouring Wax
In an amazing way to make candles, great candles begin with well-placed wicks. Think of the wick as the candle’s heart—it affects how well your candle burns, its scent throw, and even how long it’ll last.
The Right Wick For The Candle Is Part Of An Amazing Way To Make Candles
In an amazing way to make Candles choosing the right wick can feel like a bit of a puzzle. It’s got to match your candle size and type. Cotton wicks are great all-rounders, ideal for most homemade projects. For bigger or scented candles, wood wicks add an extra bit of style and a unique crackling sound.
Securing the wick is where the magic happens in an amazing way to make candles. It needs to stay put while you pour the wax. Wick sustainers, little metal discs at the base, are lifesavers. Glue dots or a dab of hot glue on the sustainer’s base will hold it right at the mold’s center. You want it to be as straight as an arrow.
Centering Your Wick.
Wick centering devices, like clothespins or special holders, keep the wick straight at the top. Picture a straight wick going from the bottom to the top of your mold like a tightrope—any sagging means uneven burning.
Pay attention to the candle height. If you’re making a tall candle, consider using a larger wick or even multiple wicks spaced out just right. This helps avoid what’s called “tunneling,” where the candle burns straight down, wasting wax on the sides.
Wick Drifting
In an amazing way to make candles, a common issue includes wicks that drift while pouring or tilt to one side. Fix this by checking the wick’s alignment a couple of minutes after pouring the wax. A quick adjustment can save you from a lopsided candle disaster.
Always trim wicks to about ¼ inch before the first burn. Long wicks could cause smoking or an uneven flame. Keep a handy pair of scissors or a wick trimmer in your candle tool kit. With a bit of practice, setting up wicks becomes second nature, and your candles will burn beautifully every time.
Making and Pouring the Wax: From Raw Materials to Finished Candle
Wax is the backbone of your candle, and choosing the right type is key. Soy wax offers a clean, slow burn, making it popular among eco-conscious folks. Beeswax has a lovely natural scent and color, giving your candles a rustic vibe. Paraffin wax, on the other hand, is versatile and holds color and scent well.
Melting Your Chosen Blend Of Wax
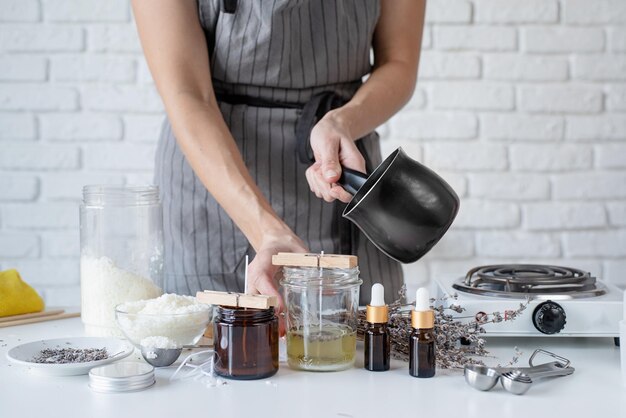
Start by melting the wax in a double boiler setup. There are other ways as long as you can control the heat, have a good thermometer by your side, the ones with built in alarms are particularly useful here. Fill a larger pot with water and place a smaller pot or a candle-melting pot inside. This method helps control the temperature, preventing the wax from scorching. Keep an eye on the thermometer; ideal temperatures differ based on the type of wax but generally stay around 170-180°F.
Adding Dyes or Fragrances
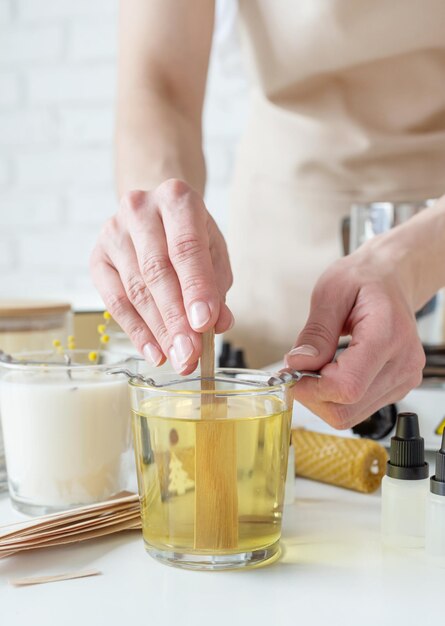
If you want to add fragrances or dyes, this is the moment. Stir the fragrance oil or dye into the melted wax gently. Use a stirring stick and make sure everything is well-blended. Fragrance oils should be added when the wax is around 170°F, as it allows the scent to bind properly with the wax. Dyes can be added at a similar stage or slightly earlier, depending on whether you’re using liquid dyes or solid dye blocks.
When it comes to pouring the wax, precision is key. Pour slowly and avoid creating bubbles. Hold the melting pot close to the mold to minimize the distance the wax has to travel. Pour in stages if your mold is particularly large. Fill halfway, wait for a thin skin to form, then pour the rest. This prevents shrinking and leaves you with a smooth top.
Let The Cooling Down Happen Naturally
In an amazing way to make candles you must allow the wax to cool gradually at room temperature. Rapid cooling can cause cracks or uneven surfaces, so patience is essential here. Once fully cooled, gently remove your candle from the silicone mold. If the candle sticks, don’t rush it; let it cool a bit longer. Sometimes popping the mold in the fridge for a few minutes can help release the candle more easily.

Post Production Personalisation
Personalizing your candles is an amazing way to make candles and where you can get truly creative. Add embeds like dried flowers, spices, or decorative elements. Swirls of different colored wax can create a beautiful marbled effect. You can also carve names, initials, or special designs into the finished candle using an engraving tool for that extra personal touch.
Finally, cleaning up is part of the process. Leftover wax can be melted down again and reused. Clean your pots and tools while the wax is still warm, making it easier to wipe off. Store your materials properly to keep them in good condition for your next candle-making adventure.
Personalizing Your Candles: Adding a Unique Touch
Personal touches are an amazing way to make candles and turn a basic candle into something special and memorable. Whether it’s for a gift, a special occasion, or just to reflect your own style, adding unique elements is where creativity shines.
Colors are a great starting point for personalization. Mix dyes to create custom shades that match your décor or event theme. Layering different colors in one candle can produce stunning effects. For a more sophisticated look, stick to a monochromatic palette with varying shades of the same color.
Scents are an amazing way to make candles that are powerful and that can evoke memories, set moods, and create ambience. Experiment with blending fragrances to craft a signature scent. Think outside the box—combine lavender with lemon for a fresh, relaxing aroma or vanilla with cinnamon for a cosy, welcoming feel. Just remember to keep the fragrance load within recommended levels to ensure a safe and efficient burn.
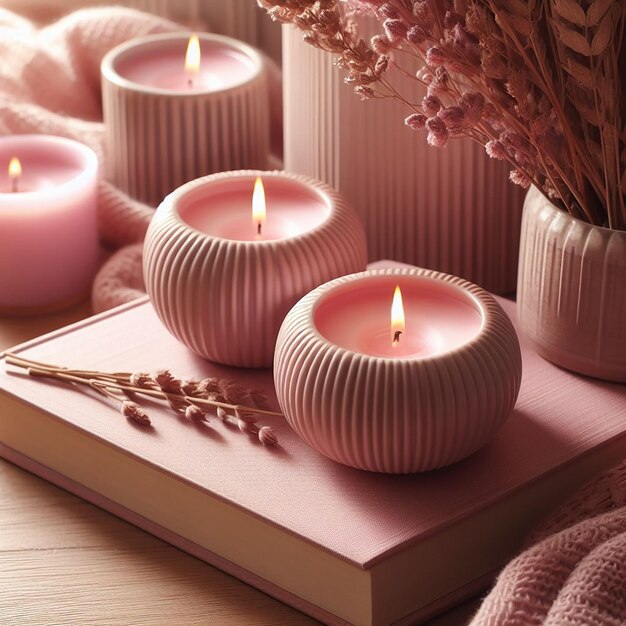
Incorporating decorative elements in an amazing way to make candles, it can really elevate your candles to art pieces. Consider embedding flowers, leaves, or herbs for a natural look. Sparkles or mica powder can add a touch of glam. Use molds with intricate designs or custom shapes to stand out. If you’re feeling adventurous, try creating pillar candles with embedded objects, making sure they’re fire-safe.
Labelling And Packaging
Labels and packaging are an amazing way to make candles have a significant impact, especially if you plan to gift or sell your candles. Printable labels can be customized with names, dates, or special messages. Jars and containers come in various styles, from rustic mason jars to sleek glass tumblers. Embellish them with ribbons, twine, or charms to enhance their appeal. Packaging for shipping is very important and some thought needs to go into this to avoid any returns due to faulty packing.
Wedding Favors Or Other Milestones
Personalized candles are an amazing way to make candles that can mark milestones like birthdays, weddings, and anniversaries. They also make thoughtful holiday gifts. Don’t hesitate to experiment and push boundaries—the more unique your candles, the more they’ll be treasured.
Contact Us
We hope you find the information useful, but if you have any questions or need help, send us a message. You do have to sign in and confirm these days to comply with government rules. Sorry for the inconvenience.
Author Rob

Hi!
I’ve always enjoyed candle stores. I liked the smell and ambiance. I enjoyed the different molds and decorations. Candlemakers are so imaginative!
This blog post is a fantastic guide for anyone looking to dive deep into candle making, from crafting the perfect model to adding those final personal touches. The detailed step-by-step process makes it seem both accessible and rewarding. I especially appreciate the emphasis on patience and precision at every stage—it’s clear that taking the time to get each part right really pays off in the end.
When it comes to adding decorative elements or personal touches like dried flowers or herbs, is there a specific type of wax that works best to ensure the embeds don’t affect the burn quality?
– Scott