How to use deep pour Epoxy Resin, what is Epoxy Resin for, river resin tables, large castings and deep pours? There are many epoxy resins on the market today, but in this article, the focus is one of the best resins for deep pouring. With the popularity of all the various types of table projects underway, river style, or others being contemplated, it is very relevant. Other types of resins and their uses will be explained in future articles.
I/We promote transparency. This post or site may contain affiliate links. This means only if you make a purchase through these links, not just by clicking, I/we may earn a small commission at no extra cost to you.
As an Amazon Associate, I earn from qualifying purchases
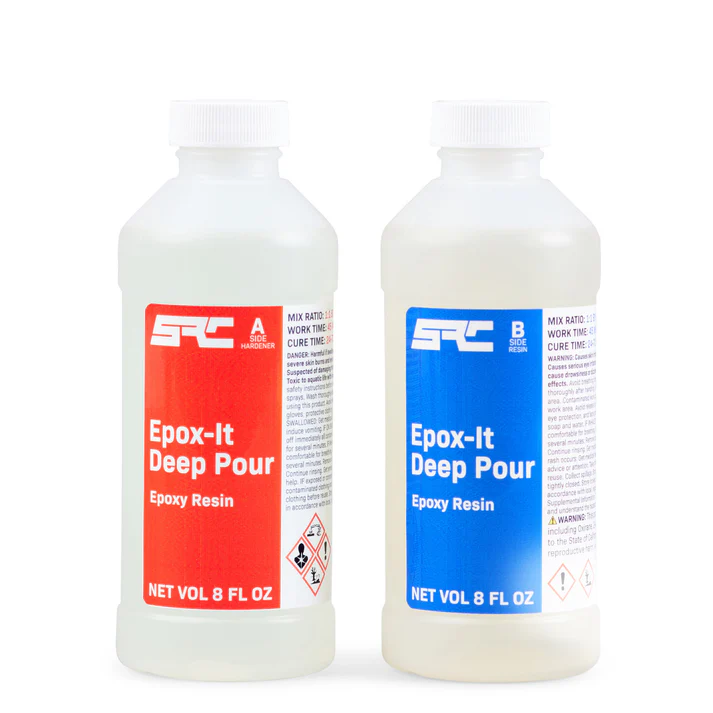
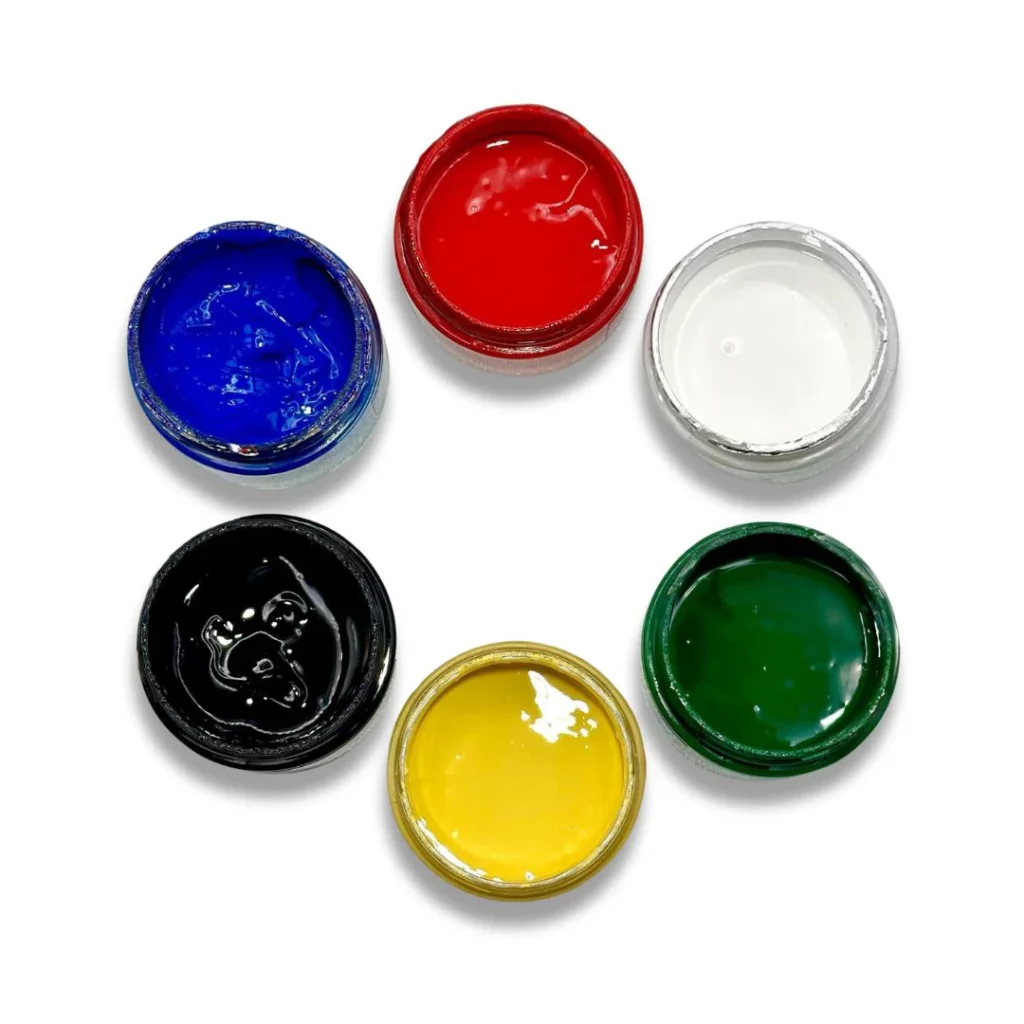
What is Epoxy Resin for? Epox-It Deep Pour epoxy casting resin is a versatile, high-gloss resin with a crystal-clear finish and an easy 1:1 mix ratio by volume. You can easily add pigments, dyes, and powders that are for epoxies, for vibrant results.
It is best to start with smaller projects and advance to larger ones over a little time. That way any minor mistakes will have the minimum cost ramifications.
what is Epoxy Resin for? Epox-It Deep Pour is a casting epoxy and is not the proper material for seal coats, tumblers or projects that require a coating less than 1/4″ thick. Those applications benefit from using an appropriate coating epoxy such as our Epox-it 80. epoxy resin for table
What Is Epoxy Resin For:
Making clear epoxy resin table tops,
Epoxy resin bar tops
Clear epoxy resin over concrete countertops and live edge tables
Encapsulating and doming decorative items
Epoxy resin for art projects
Epoxy resin jewelry making
Making figurines, prototypes and other models
Epoxy Resin Features:
Direct from the manufacturer, so you receive fresh material each time.
Easy 1:1 mix ratio by volume
Thick pours (Up to 2″ thick)
Self-leveling
Low odor and exotherm
Blush, water and UV resistance with UV inhibitors
Easy to follow instructions
Low viscosity formula with superior air release to avoid bubbles
Complies with the FDA Code of Federal Regulations 177.2600 for indirect food contact
Compatible with most pigments, dyes, and powders
Working time of 45 minutes
Cure time of 24 to 72 hours depending on casting thickness
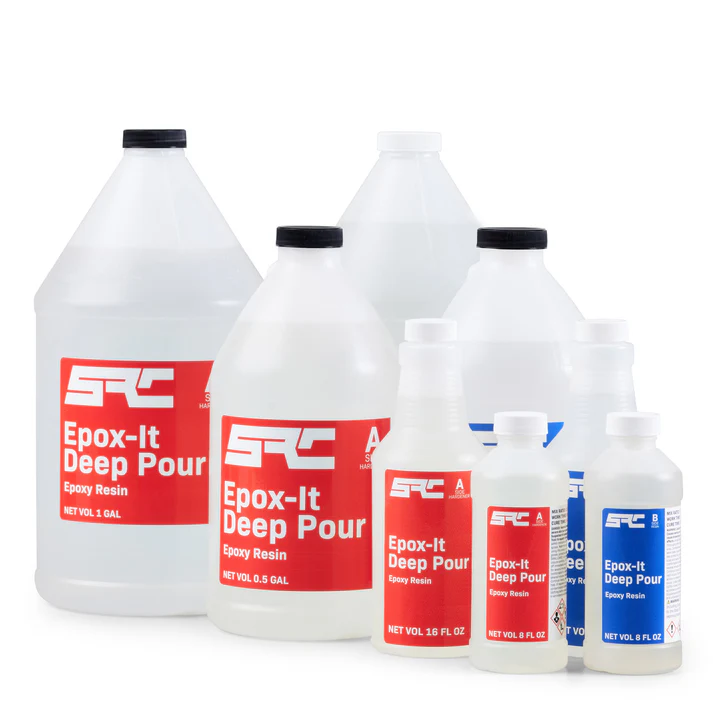
Buy Epoxy Resin, Sizes Available:
CLICK HERE FOR MORE INFORMATION 16oz. Kit 2 x 8oz
CLICK HERE FOR MORE INFORMATION 32oz. Kit 2 x 16oz
CLICK HERE FOR MORE INFORMATION 1 Gallon Kit 2 x ½ Gallons
CLICK HERE FOR MORE INFORMATION 2 Gallon Kit 2 x 1 Gallons
CLICK HERE FOR MORE INFORMATION 10 Gallon Kit 2 x 5 gallons
Specifications.
Mix Ratio 1:1 by volume
Working Time 45 minutes
Demold Time 24-72 hours
Shrinkage .001
Color Clear
Hardness 80-D
Viscosity 600cps
Step by Step Instructions.
How To Use Deep Epoxy Resin What is Epoxy Resin For? Below you can find a complete step-by-step guide showing how to use it correctly for various dimensional projects,
1. Mixing Resin and Hardener:
- Thoroughly mix the resin and hardener using a flat-sided stir stick.
- Scrape the sides and bottom of the container to ensure proper mixing.
- Avoid whipping in excess air, as this can affect curing.
- Incorrect mixing may result in a soft or sticky product.
2. Casting Thickness:
- Do not exceed the recommended casting thickness.
- Overheating can cause yellowing, cracking, or distortion.
- Avoid scraping out the last few ounces from the mixing container to prevent soft spots.
3. Adding Color To Epoxy Resins:
- Coloring resins can take a little practice, especially for marbleising effects. But for standard coloring add your pigments after you have mixed together your 2 parts of resin thoroughly.
- Different pigments and manufacturers mean that they can vary in intensity and possibly instructions. So please read each one carefully.
- It is probably easier to start out with liquid pigments and to carry out a few trials first if new to the process. Measure, by drops or other means and record both the pigment quantity and resin used.
- You can then with some simple calculations scale up the amounts for bigger pours. I recommend making up a little chart for quick reference and to record what you used and for what piece you poured.
4. Storage and Environment:
- What is Epoxy Resin for when you buy it, it has a 6-month shelf life when stored properly.
- Close containers immediately after use and store at room temperature.
- Prepare a dust-free, well-lit mixing and casting area with adequate ventilation.
- Maintain room temperature (65-75°F) for both the casting area and the epoxy.
5. What Is Epoxy Resin For & Safety Precautions:
- Wear recommended safety equipment rubber gloves, eye protection, and apron).
- Have all tools and equipment ready for use.
- Suggested tools include mixing cups, stir sticks, rags, drop cloth, tape, foam brushes, resin, plumbers torch, scale, level, and lacquer thinner for cleanup.
6. Table Preparation:
- Place a drop cloth under the table or work area.
- Ensure the table is level.
- Wipe the tabletop with a damp rag and let it dry completely.
- Create a barrier using wood covered in Tyvek tape or aluminum tape to prevent leakage.
7. What Is Epoxy Resin For and How Does It Cure:
- Cure time depends on working temperatures and casting size.
- Larger castings cure in 24 hours; medium and smaller castings take 48 to 72 hours.
- Full cure occurs in 5-7 days.
8. What Is Epoxy Resin For And It’s Casting Guidelines:
- Cast up to 2″ deep for projects less than 3″ wide.
- Subsequent pours of 2″ can be made if casting is wider.
- Wait 5-6 hours between pours.
- Lightly sand the top and then wipe the surface with denatured alcohol if you are waiting more than 3 days between pours.
9. What Is Epoxy Resin For & Additional Thickness Recommendations:
- Projects up to 6″ wide can be cast up to 1″ thick per pour.
- Projects greater than 6″ wide can be cast up to 3/4″ thick per pour per hour.
- Follow similar guidelines for subsequent pours.
10. DO NOT cast over 1 pint (16 oz) of material at a time.
- Subsequent pours can be done once the previous pour has cooled and the material is hard to the touch. However,
- If you are waiting more than 3 days between pours, lightly sand the top and wipe with denatured alcohol for good adhesion.
11. What Is Epoxy Resin For & River Table Mold Preparation:
- Create your mold using wood or MDF board.
- Apply Tyvek tape on the inside and bottom of the frame to prevent epoxy from sticking.
- Seal the wood or use carnauba paste wax or a release agent to prevent sticking.
- Fill cracks or voids around the frame with silicone acrylic caulk.
12. What Is Epoxy Resin For and It’s Workspace Temperature:
- When pouring your river table, maintain a workspace temperature between 65-75°F.
- Cooler temperatures work better for larger pours.
13. Imperfections and Final Seal Coat:
- If imperfections are visible after curing, apply a final seal coat of Epox-It 80.
- Alternatively, use Epox-It Deep Pour (minimum thickness of 1/4″) applied within 72 hours.
- When waiting more than 3 days between pours, lightly sand the top and wipe with denatured alcohol for good adhesion.

14. Casting Removal:
- Wait 48-72 hours before removing your casting from its frame.
Remember to follow these instructions carefully to achieve optimal results!
Contact us
We hope you find the information useful, but if you have any questions or need help, send us a message. You do have to sign in and confirm these days to comply with government rules. Sorry for the inconvenience.
Author Rob


Hey,
This is a good one. I enjoyed it.
Epoxy resin is a versatile material when used in coatings and crafting and I wonder how durable epoxy resin is compared to other options like polyurethane.
Also when applying epoxy on different surfaces, are there any specific techniques or tips to make the finish last longer?
Since many artists use epoxy resin in their projects, is it easy enough for beginners to use, or are there any challenges to watch out for?
I’m enjoying learning about this topic. Very well done. Waiting for your feedback.
Hi Sara,
Thanks for your comments and questions.
There are so many versions of polyurethane, but as a norm Epoxy is always stronger, I think its costs prevent it for being used more generally.
Each surface needs slight variations, but cleaning as described after a light sandingare the most common where the wish is for the product to stay put.
If casting products, then it is recommended to use the correct release agent for the type of mold you are using..
I hope this answers you questions.