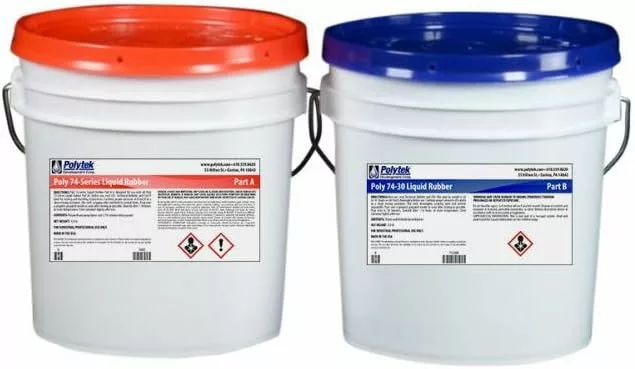
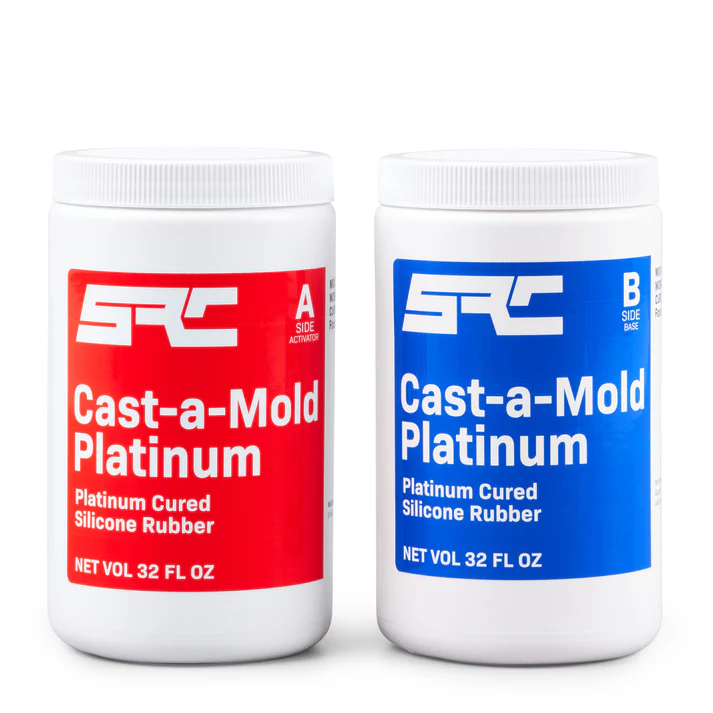
The 5 common mistakes while using liquid rubber or silicone that you can read about below. These are just the most important and reoccurring mistakes that I have come across when training new staff or introducing different materials. Being aware of these important points could save you precious time and a lot of money.
As an Amazon Associate, I earn from qualifying purchases.
This post contains affiliate links. If you make a purchase through these links, I may earn a commission at no extra cost to you.


1 Choice of Polyurethane Rubber or Silicone: 5 Common Mistakes
Choosing the right type of rubber or silicone is crucial for any project. Each type comes with its own set of properties, offering varying levels of flexibility, hardness, and heat resistance. Picking the wrong one can lead to project failure or unnecessary stress, so it pays to get this right from the start.
Understanding the specifics of your project will help in selecting the right material. For instance, if your project requires high flexibility, silicone might be your go-to. For situations needing heat resistance, certain types of rubber might perform better. Recognize the primary needs based on the outcome you want to achieve.
Always consult the manufacturer’s guidelines when selecting products. They are designed with specific conditions and usage in mind, so this step can’t be emphasized enough. Manufacturers often provide detailed instructional brochures or online resources, including videos, that can shed light on the suitable scenarios for each product.
Reach out for advice if you’re unsure. Whether it means calling up the manufacturer directly or asking for help on expert forums, there are many resources if you’re feeling lost in the jargon. With the right insights, making an informed choice becomes much easier and sets the foundation for successful project completion.
2. Substandard Model Preparation: 5 Common Mistakes
Before diving into the pouring process, ensuring your model is well-prepped is the backbone of any successful project. A clean, smooth model is the first step. Even the tiniest defect or dirt particle can impact the outcome, leading to imperfections in the final product. Please remember that rubbers, especially the silicones, will pick up all the details, good or bad and the surface quality of your model. A dull sheen will produce a dull finish on the surface of your mold. It is a good practice to spray paint your model before applying the release agent with a suitable paint like Plasticote or Tamiya Acrylic spray paints.
Beyond cleanliness and release agents, think about the model’s strength. It has to be sturdy enough to bear the weight and pressure of the material being cast. Any fine and intricate details can be prone to breaking. If you’re not confident in its robustness, reinforcing it ahead of time can save a lot of huge headaches later.
These preparations aren’t just about aesthetics; they ensure efficiency and quality in your results. Skipping these steps could mean starting over, which is not a fun prospect for anyone.
3 The Essentials of Mold Release: 5 Common Mistakes
Choosing the appropriate mold release agent makes a world of difference in your project’s success. It’s not just about stopping the rubber or silicone from sticking to the model; it’s about ensuring compatibility across all materials involved. Each type of project and the medium used for the model might require a different agent, so take time to understand which one suits your purpose the best.
Applying the release agent is more than just a swipe; it requires attention to ensure it’s spread evenly and thoroughly. Uneven application can lead to imperfections in the mold and possible sticking. Techniques such as spraying and then brushing it out, can help in getting an even coating, especially for intricate models.
The drying time of the release agent is paramount. Jumping the gun and pouring rubber or silicone before it’s thoroughly dried may backfire, affecting the mold’s strength and finish. Patience during this step is a virtue. Check the manufacturer’s instructions for the recommended drying time and follow it to the letter.
Remember, a little time and attention paid to choosing and applying the right release agent can save you a lot of hassle down the road. It’s an investment in the quality and durability of your finished product without any compromise.
4 Successful Mold Sealing: 5 Common Mistakes
Securing your shell mold setup is crucial to prevent any unwanted leaks or spills. If your mold isn’t sealed properly at all joints and at its base, you risk losing material and creating a mess that could have been avoided. You will also waste a very expensive material, which will really affect your bottom line. It’s all about establishing a secure fit and seal and if your model includes intricate details or complex shapes and you get leakage you will have a huge job salvaging your model with a partially poured mold.
Choosing the right sealant feels like a small detail, but it’s one with a big impact. Your sealant needs to hold up against the pressure during casting, keeping everything contained. You don’t want to use something that’s too weak or incompatible with your materials, as this to could compromise your efforts and lead to a botched project. It also should not be a permanent sealant as you need to demold after your mold has cured.
Conducting a thorough inspection once your mold is sealed is equally important. This isn’t just a visual check—feel around the edges for any slight gaps or weak points. Sometimes a quick test with water can highlight potential problem areas before you pour in expensive casting materials. But then you must thoroughly dry out your mold before attempting to pour the rubber.
Taking a little extra time to ensure every seam and joint is secure can make the difference between a flawless product and a frustrating do-over. These preventative steps help avoid unnecessary setbacks and make all the difference in achieving that polished, professional result.
5 Mixing and Temperature Control: 5 Common Mistakes
Getting the mixing right is a cornerstone of working with liquid rubber or silicone. Each type requires a precise ratio of components, and straying from the manufacturer’s recommended proportions can lead to a failed project. When measuring, it’s best to use accurate tools like digital scales to ensure precision. Some products are by weight, others by volume.
The mixing process itself needs careful attention. Stirring the mixture well avoids air bubbles, which can lead to weak spots in the final product. Using slow, steady movements helps in achieving a consistent blend and keeps bubbles at bay. Carefully scraping around the sides of your mixing container is a must. If you are using a mixing drill, make sure you have the correct mixing paddle as this helps to not introduce any additional air. Remember you are not making a sponge cake so mix a little slowly and with care.
5a Temperature And The 5 Common Mistakes
Temperature plays a pivotal role throughout this process. If it’s too hot or too cold, you might end up with unexpected results, like premature curing or uneven textures. Keeping the workspace at a stable, suitable temperature as indicated by the material’s guidelines will prevent these issues. This needs to be maintained while mixing and the full curing time.
It’s also wise to use a thermometer to check the temperature of the materials themselves before the mixing process is started. This oversight guards against any variations that could also affect the mixing, curing time and outcome.
A little vigilance and patience in these areas will ensure that your casting materials perform as expected, delivering a smooth finish with the durable quality you’re aiming for.
Conclusion: Avoiding the 5 Common Mistakes, Achieving Perfection
Steering clear of the 5 common mistakes when working with liquid rubber and silicone makes a significant difference in reaching the desired results. It starts with selecting the right type of material to fit your project demands, followed by meticulous model preparation to lay a solid foundation.
The right mold release agent and sealing techniques ensure that everything goes smoothly and prevents mishaps that could derail your work. Paying attention to mixing instructions and maintaining the optimum temperature prevents any unwanted surprises during the process.
These careful considerations and steps transform challenges into successful outcomes by avoiding the 5 common mistakes. Keep refining these skills and knowledge to master the art of using these versatile materials, leading to high-quality projects you can be proud of.
Final Tips: Mastering The 5 Common Mistakes With Liquid Rubber
To truly master liquid rubber and silicone, it’s important to blend skill with a curious mindset. Continue educating yourself on new products and techniques, as advancements in technology mean constant improvements and innovations in these materials.
Experimentation is key. While it’s crucial to understand the guidelines, don’t be afraid to test small variations that tailor the material to better suit your unique projects. A little trial and error, especially in less critical areas, can offer valuable insights and improve your efficiency.
Engage with fellow enthusiasts or professionals—either online or within your community. Discussing shared experiences often uncovers tips or hints that you hadn’t considered, enhancing your understanding and application techniques.
Ensure you’re continually reviewing the end result of your projects. Evaluate where things went right or could have been smoother, as these reflections can be pivotal in honing your craft.
Above all, patience remains your best ally. Each project enhances your skill set, inching you closer to perfection. Embrace each step of the process with care and curiosity, and the quality of your work will reflect your dedication.
Contact Us
We hope you find the information on the 5 common mistakes useful, but if you have any questions or need help, send us a message. You do have to sign in and confirm these days to comply with government rules. Sorry for the inconvenience.
Author Rob

It’s fascinating how often the basics can be overlooked in projects involving liquid rubber or silicone. Your emphasis on choosing the right material really resonates—getting that first step right can make or break the whole project!
I particularly appreciate your detailed explanation of mold preparation and the importance of a thorough clean-up before pouring. It’s easy to underestimate how small imperfections can impact the final product.
Also, your tips on mixing and temperature control are incredibly helpful; I often struggle with ensuring consistent results. Have you encountered any specific brands of release agents or silicone products that you prefer based on your experience? I’d love to hear more about what has worked best for you!
Hi Florya,
thank you for your comments. As far as products, you cannot go wrong with Pollytek and their full range of products. They are more in line with the larger quantities,
For small quantities and a fast response time, Speciality Resins & Chemicals has all the basics in smaller sizes.
I hope that helps Robby