
 By Robby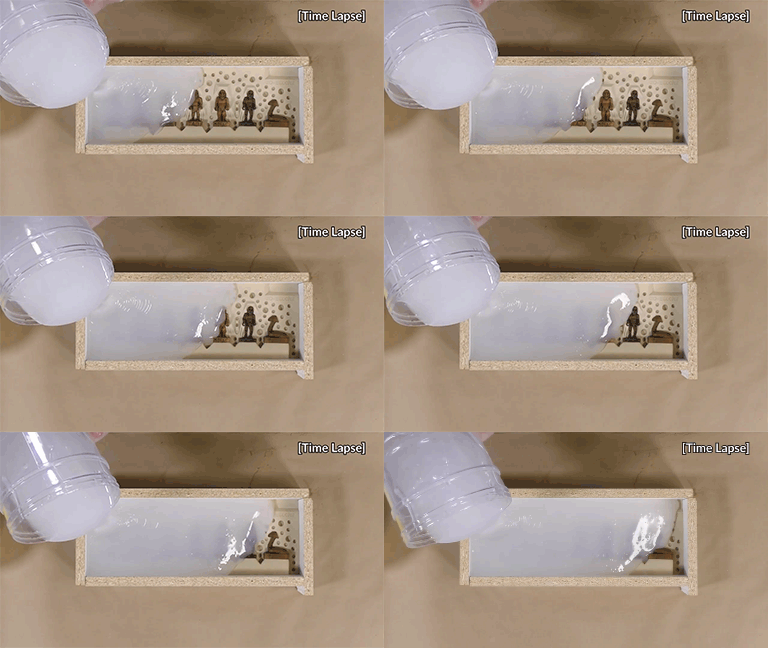
How To Make a Rubber Mold at Home (Beginner Guide)
Introduction
If you’ve ever wondered how to make a rubber mold at home, you’re in the right place. Rubber molds are flexible, reusable and capable of producing accurate copies of everything from small craft projects to much larger decorative pieces. They are widely used for casting resin, plaster, cast stone, candles, soap and many other materials.
The basic principle is surprisingly simple.
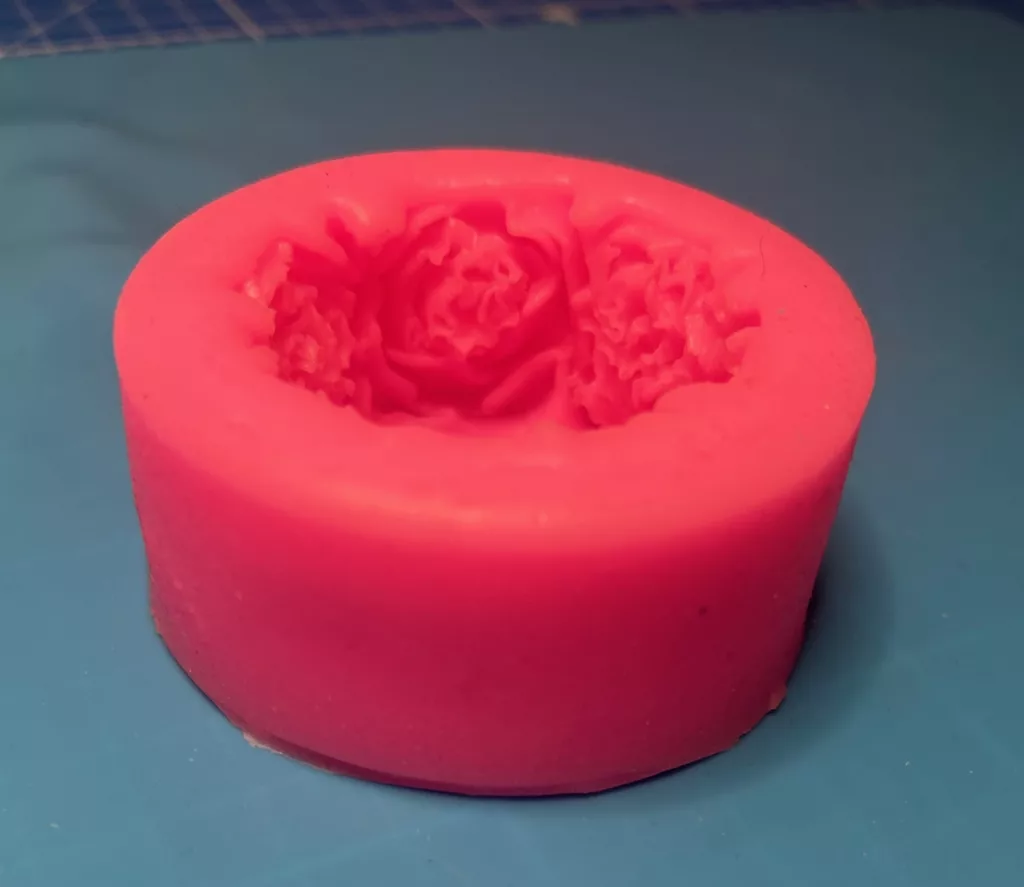
A rubber mold is a flexible negative of your original object, often called the master. Once the rubber mold has cured, you pour your chosen casting material into it. When the casting has set, the rubber mold flexes away, leaving an accurate copy of the original.
That same principle is used every day by hobbyists making small resin projects and by commercial manufacturers producing architectural cast stone, sculptures, restoration pieces and decorative products.
The good news is that you don’t need an expensive workshop or specialist equipment to make your first successful rubber mold. Most beginners can achieve excellent results using simple materials, a straightforward setup and a little patience.
The secret isn’t expensive equipment.
It’s understanding the process, developing good habits and learning to avoid the common mistakes that catch almost every beginner.
In this guide I’ll take you through the complete process of making your first simple rubber mold. I’ll also explain where more advanced techniques fit into the process without making your first project more complicated than it needs to be.
I/We promote transparency. This post or site may contain affiliate links. This means only if you make a purchase through these links, not just by clicking, I/we may earn a small commission at no extra cost to you.
As an Amazon Associate, I earn from qualifying purchases
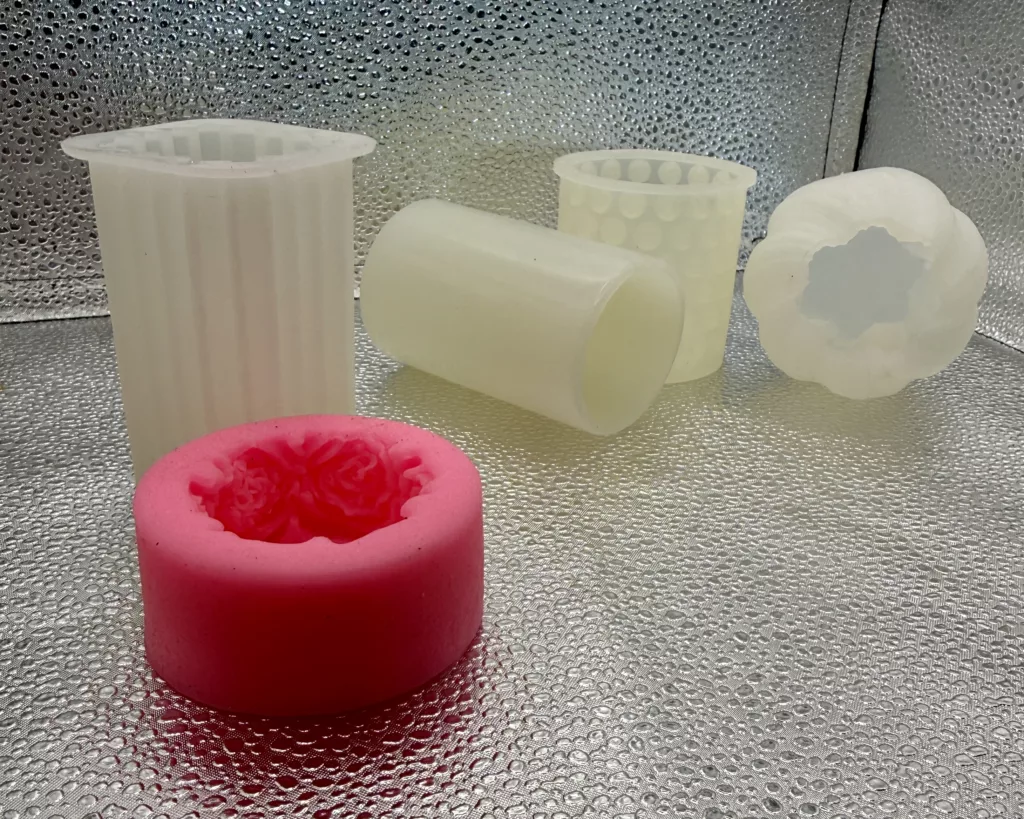
Table of Contents
A Short Note Before We Start
Before we begin, I’d like to make one point.
There is rarely only one correct way to make a rubber mold. Over the years I’ve met many skilled mold makers, and most have developed their own techniques and preferences depending on the profession or industry they work in and their own techniques they have developed over the years.
Everything you’ll see in this guide is based on methods and products that have worked well for me over many years years running production casting businesses, where reliability and consistent results mattered every day. They’re practical, reliable and ideal for beginners, but they’re certainly not the only way to achieve excellent results.
Before You Begin
Before we start, I’d like to tell you about my own first experience with liquid rubber.
Like many beginners, I made life much harder than it needed to be.
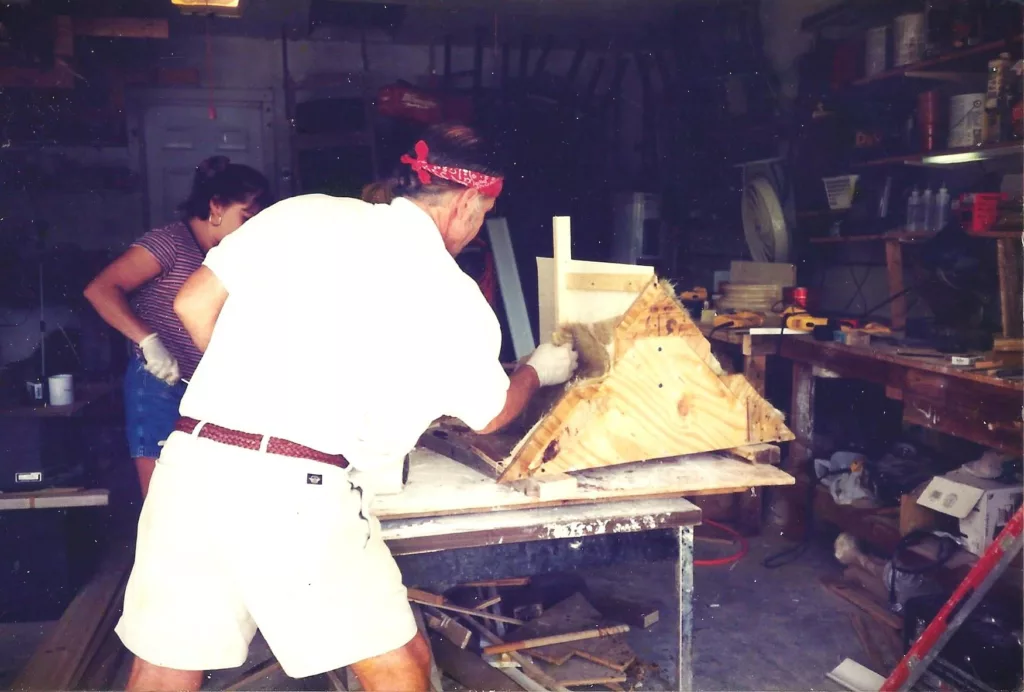
Instead of starting with a simple object, I jumped straight in and copied a 10-inch Corinthian capital with a narrow neck, several undercuts and a hollow core that had to fit around structural steelwork. I already had years of experience making fibreglass boat hulls and working as a building contractor, so I honestly thought making the rubber mold would be the easy part.
I couldn’t have been more wrong.
Within two days I’d managed to make almost every beginner’s mistake imaginable.
Back then there was no Google, no YouTube and very little practical information available. Apart from the instructions supplied with the rubber and a partial VHS product video, you learnt by trial and error and liquid rubber wasn’t cheap.
Those early mistakes taught me lessons I’ve never forgotten.
They taught me to think several stages ahead, prepare everything before mixing, and never assume a rubber mold will succeed just because the object looks simple.
That’s exactly why I recommend that your first rubber mold should be as uncomplicated as possible.
You’re not trying to create a masterpiece.
You’re learning a process that you’ll use for every rubber mold you make from now on.
Start Small and Build Your Confidence
One of the biggest mistakes beginners make is choosing an object that’s far too complicated for their first rubber mold.
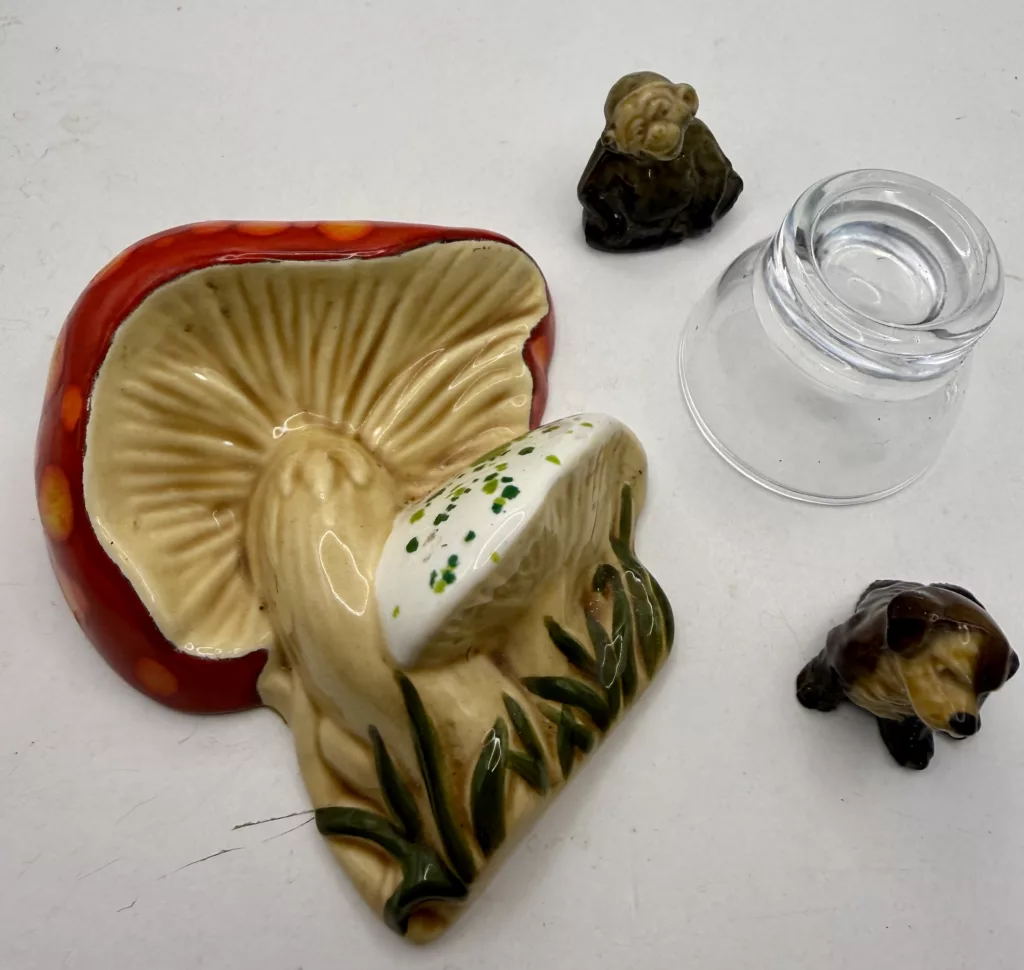
Instead, choose something with a smooth, glossy surface that will naturally release from the finished rubber mold. In the trade you’ll often hear these described as drop-out molds or pop-out molds because the original simply drops or pops out once the rubber has cured.
Starting with a simple project allows you to concentrate on learning the skills that really matter:
- Preparing your work correctly.
- Mixing the rubber accurately.
- Pouring the rubber without trapping air.
- Allowing the rubber mold to cure fully.
- Removing the master without damaging the mold or mold box.
Mastering those skills is far more valuable than producing an impressive first project.
Every experienced mold maker started exactly where you are now.
Once you’ve mastered the basics, you’ll be surprised how quickly your confidence grows.
If you’ve already decided to make your rubber mold using either silicone or polyurethane (PU), following this link here takes you to my How to Make a Silicone Mold guide takes you through essentially the same process in more detail, with the main differences noted where they matter.”
Understanding Rubber Molds and Materials
A rubber mold is simply a flexible impression of an object that allows you to produce multiple copies of the original.
Because the rubber mold remains flexible after curing, it can often be peeled away from the finished casting without damaging either the casting or the mold itself. That’s one of the biggest advantages rubber molds have over rigid molding materials like fibreglass or polystyrene.
Rubber molds are used for a huge variety of projects, including:
- Resin castings
- Plaster products
- Cast stone
- Expanded foam parts
- Soap
- Candles
- Prototype components
- Small production runs
- Restoration work
Although the finished products may be completely different, the basic principles of rubber mold making remain remarkably similar.
One point that often confuses beginners is the terminology.
People frequently use the words rubber, silicone, urethane and latex as though they all mean exactly the same thing.
They don’t.
Rubber is the general category.
Silicone rubber, urethane rubber and latex rubber are simply different types of rubber, each designed for particular applications.
Understanding those differences early will save you both time and money.
If you’d like a more detailed explanation of the different types of mold-making rubber, I’ve covered that in a separate guide.
Choosing the Right Rubber
For most beginners, the choice comes down to two materials:
- Silicone rubber
- Urethane rubber
Both produce excellent rubber molds when used correctly, but they behave quite differently.
In my opinion, silicone rubber is absolutely the best place to start if your budget allows. It’s flexible, forgiving and easy to use, and it produces excellent-quality rubber molds. In most applications it doesn’t require a release agent, and its low maintenance and quick preparation between pours can make production much easier, with far less frustration.
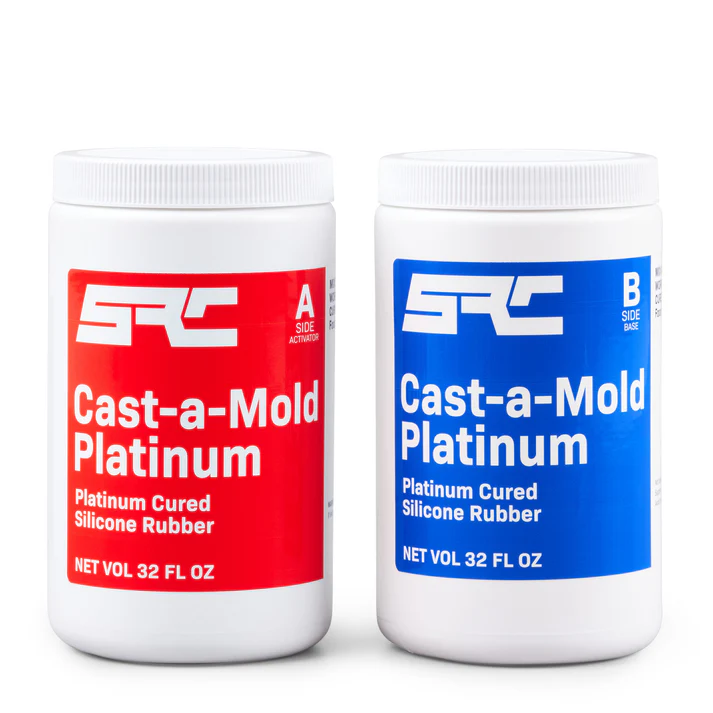
Many modern silicone rubbers are low-viscosity products that self-degas surprisingly well. That means most beginners can achieve excellent results without investing in vacuum degassing equipment. Good mixing and careful pouring are still essential, but modern products do much of the hard work for you.
Urethane rubber is tougher and often less expensive, making it popular for commercial production work. However, it’s much more sensitive to moisture and humidity. If your working conditions aren’t suitable, poor curing can quickly become an expensive lesson.
There are also many grades of both silicone and urethane rubber. Shore hardness, tear strength, viscosity, pot life and working time all influence how the finished rubber mold performs.
My own advice has always been to buy products from established manufacturers with a proven track record. Unless you have the time, money and product to test lesser know products.
Over the years I’ve purchased rubber by the 45-gallon kit, costing several thousand dollars at a time. When you’re investing that sort of money, you quickly learn the value of reliable products, consistent quality and good technical support.
Cheap rubber often becomes expensive when it fails.
Latex rubber still has its place, but for most beginners I wouldn’t recommend it. It shrinks more than modern silicones, has a shorter working life and is generally less reliable for long-term rubber mold use.
You can follow this link to learn more about the types of rubbers.
Product Recommendation
Throughout my years running production casting businesses in the United States, I came to rely on Polytek mold-making products because they consistently produced reliable, repeatable results. They had and still have a full-time team of specialist technical staff and a back-room research and developement team.
Today, those same products are available through Specialty Resin Company (SRC), Polytek’s retail supplier. That’s why you’ll see me recommending SRC products throughout this website—they’re products I’ve trusted professionally for many years.
If you’d like to see the product specifications, Technical Data Sheet and current pricing, you can view them here.
Disclosure: If you purchase through this link, I may earn a small commission at no extra cost to you. I only recommend products I’ve used personally or would happily use myself.
What You Need to Make a Rubber Mold
Making a simple rubber mold does not require a long shopping list, but having everything prepared before you start makes the whole process much easier.
You’ll need:
- A master (the object you want to copy)
- RTV mold-making silicone or another suitable mold-making rubber
- A mold box to contain the liquid rubber
- Mixing cups
- Mixing sticks or a small rechargeable resin/rubber mixer
- Digital scales if your rubber is mixed by weight
- A quality spray-on mold release agent and a mold release wax
- A tube of decorators’ caulk, such as Poly-seam-seal or a similar product, and a standard caulking gun
- Modelling clay if required
- Paper towels
- Disposable gloves
- A flat, perfectly level baseboard with a non-stick surface if possible
Your mold box can be purpose-built or made from simple materials depending on the project. I’ll cover mold box construction in a separate guide because there are several methods, each with their own advantages.
I always work on a separate baseboard that’s large enough to hold both the master and the mold box. Having a perfectly level working surface helps produce an even mold thickness and avoids unnecessary problems later as it is self-levelling, just like water, and if the mold box is not exactly level the rubber will flow over the edges, not always straight away.
Probably the biggest mistake beginners make is rushing this preparation stage.
Once the rubber has been mixed, the clock starts ticking. Every minute you spend looking for tools, sealing leaks or trying to solve problems is eating into your working time.
It’s rather like opening the oven before a cake has finished baking—it rarely ends well.
Can You Use Regular Silicone for Rubber Mold Making?
One of the most common questions beginners ask is whether ordinary household silicone sealant can be used instead of proper mold-making rubber.
The answer is no.
Bathroom and construction sealants are designed for sealing joints and waterproofing, not for producing accurate molds.
They usually cure inconsistently, are far too stiff, capture poor detail and often trap air. In many cases they bond to the original object, making demolding difficult and sometimes damaging the master.
RTV mold-making silicone has been developed specifically for making molds. It cures consistently, remains flexible and reproduces extremely fine surface detail.
Many modern platinum-cure silicones are low-viscosity products that self-degas remarkably well. That means many beginners can achieve excellent results without investing in vacuum degassing equipment. Even so, careful measuring, thorough mixing and slow pouring remain the keys to success.
Using the correct material from the beginning saves time, frustration and wasted rubber.
Making a Simple One-Piece Rubber Mold
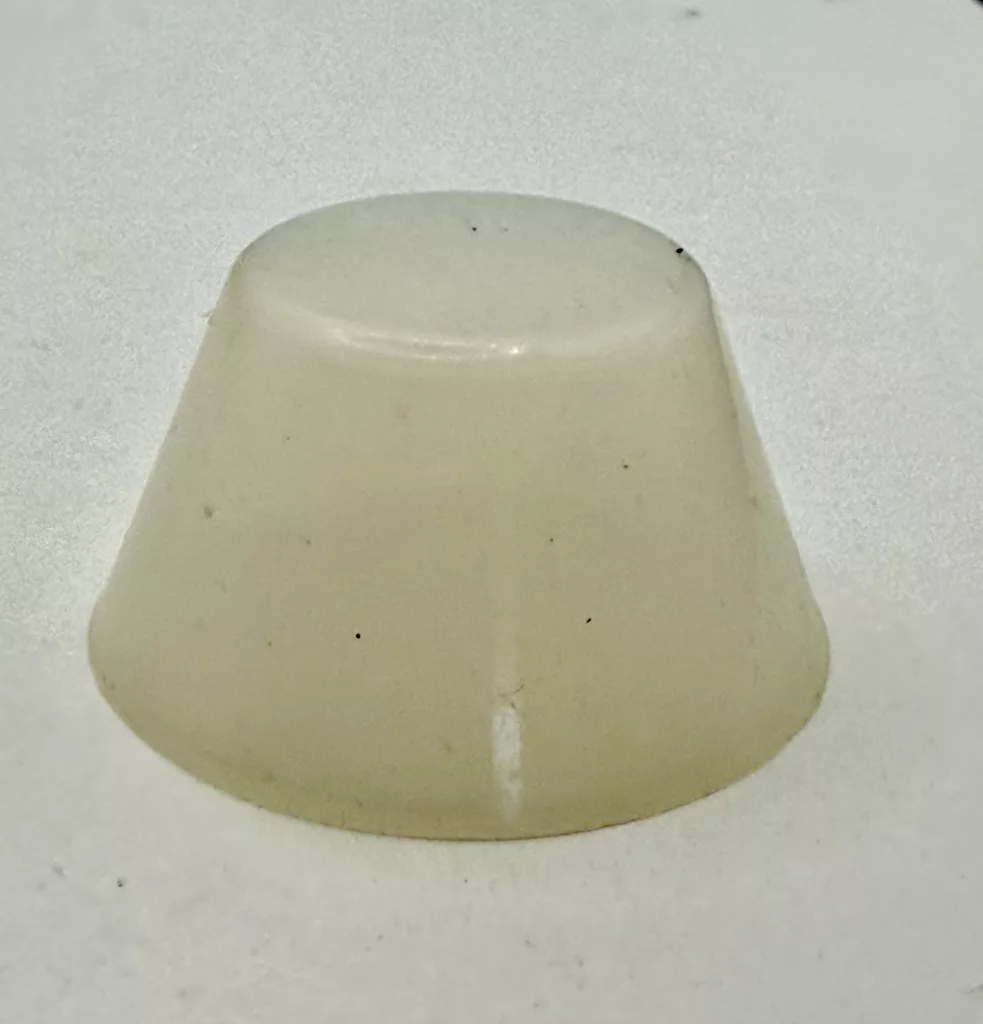
A one-piece poured mold is the easiest type of rubber mold to make and the ideal place to start.
For your first project, choose an object with a smooth, glossy surface that will release easily from the cured rubber. In the trade you’ll often hear these called drop-out molds or pop-out molds because the master simply drops or pops out once the mold has cured.
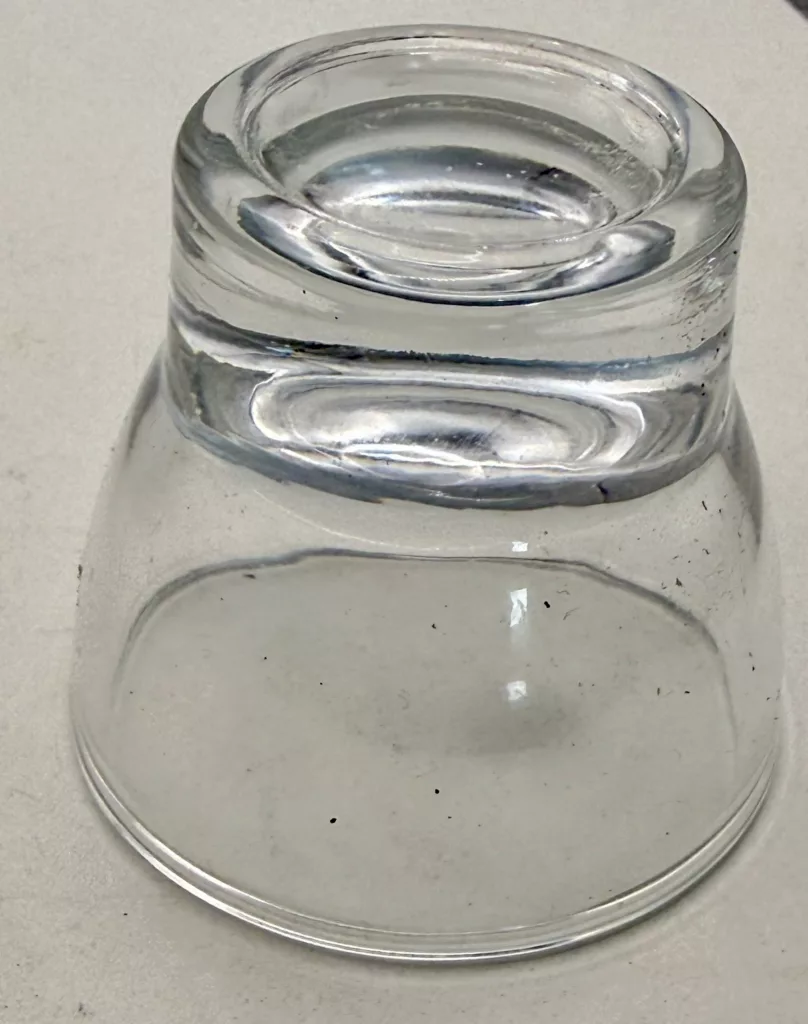
Begin by preparing a clean, level workspace and have every tool within easy reach before you mix the rubber.
Secure the master firmly to your baseboard so it cannot move.
I normally seal around the base of the master using decorators’ caulk such as Polyseamseal, applied with an ordinary caulking gun. Once that’s complete, position the mold box around the master and seal all the inside joints in exactly the same way.
Sealing from the inside prevents liquid rubber creeping beneath the mold box walls and makes demolding much easier later. Before mixing the rubber, carry out one final inspection for any possible leaks.
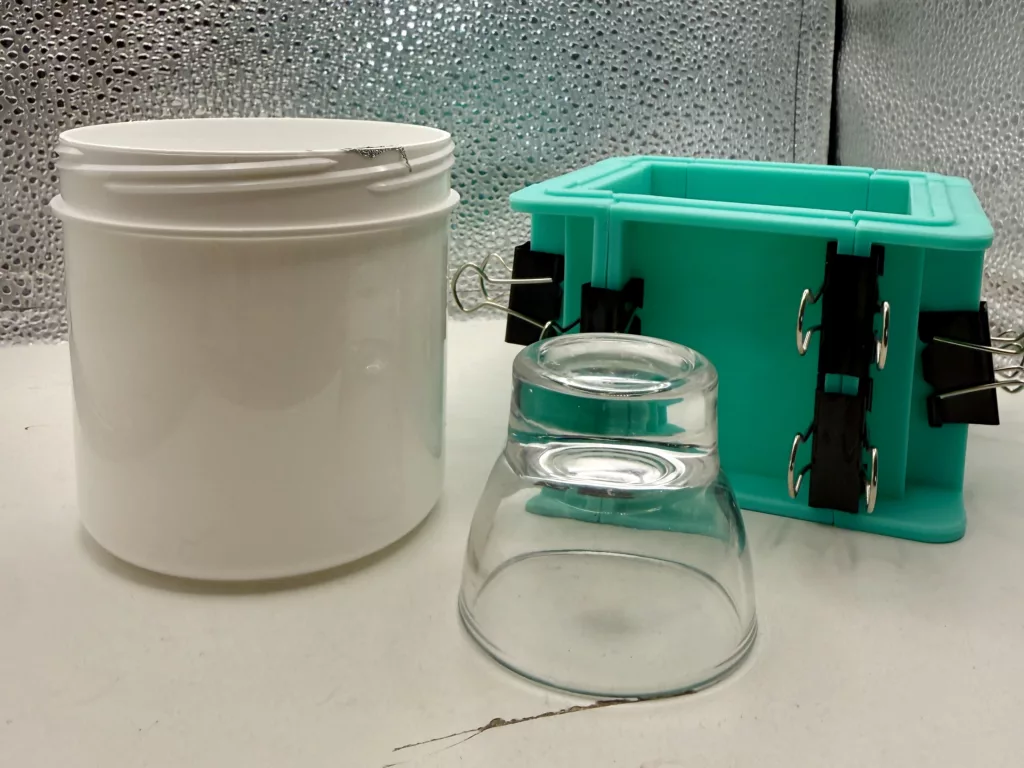
Remove any dust or debris from inside the mold box.
Now apply a light coat of spray-on mold release to the master, the inside of the mold box and the baseboard.
I also like to apply a little mold release wax onto anything that may accidentally come into contact with the rubber, especially mixing tools and other equipment. It only takes a few seconds and makes cleaning up afterwards, when the rubber is cured, much easier.
Before you start pouring, it may also be worth looking at these common mold-making mistakes. Most are much easier to prevent than fix afterwards.
Pouring The Rubber Mold
Mix the rubber exactly as recommended by the manufacturer. Some products are measured by weight while others are mixed by volume, so always follow the instructions supplied with the product.
Pour the rubber slowly into one corner of the mold box, allowing it to flow naturally around the master. Avoid pouring directly onto the object if possible. A slow continuous pour helps reduce trapped air and allows the rubber to level itself naturally.
Allow the mold to cure completely before attempting to demold it. Cure times vary with the product and room temperature, so patience really does pay off.
Once cured, remove the mold box and carefully separate the master from the finished mold.
Your first rubber mold is now ready for casting.
Common Beginner Mistakes
Every mold maker has made mistakes when learning the craft. Fortunately, most of the common problems are easy to avoid once you know what to look for.
Some of the mistakes I see most often are:
- Using household silicone sealant instead of proper RTV mold-making rubber.
- Rushing the preparation stage instead of checking everything before mixing.
- Failing to seal the master or mold box properly, resulting in leaks and wasted rubber.
- Measuring or mixing the rubber inaccurately.
- Pouring too quickly and trapping unnecessary air bubbles.
- Choosing a complicated object for a first project instead of a simple drop-out mold.
- Trying to remove the mold before it has fully cured.
Don’t be discouraged if your first mold isn’t perfect. Every mold you make teaches you something, and those lessons soon become second nature.
What to Do Next
Once you’ve successfully made your first one-piece rubber mold, you’ll have learned the basic techniques that apply to almost every mold-making project.
From there, you can begin exploring more advanced subjects, including:
- Building different types of mold boxes.
- Choosing the right silicone or urethane rubber for specific applications.
- Brush-on rubber molds for larger or fixed objects.
- Two-piece and multi-piece molds.
- Selecting the correct mold release agents.
- Vacuum degassing and pressure casting.
- Choosing the best casting material for your project.
This guide is intended to give you a solid foundation. Each of those subjects deserves a guide of its own, allowing you to build your knowledge one step at a time without becoming overwhelmed.
In my experience, confidence doesn’t come from reading about mold making.
It comes from making molds.
Every project improves your understanding, and every successful mold builds on the lessons learned from the last one.
Progress comes through repetition, careful observation and experience—not shortcuts.
Final Note
I hope this guide has given you the confidence to make your first rubber mold.
Throughout this article I’ve shared the methods and techniques that have worked well for me over many years of practical experience. They aren’t the only ways of making a successful mold, but they’ve proved reliable over countless projects, from small craft items to large architectural cast stone and restoration work.
If you have any questions, suggestions or practical experience of your own, I’d be delighted to hear from you. Please leave a comment below. Sharing real-world knowledge helps improve future guides and benefits everyone who enjoys learning the craft of mold making.
Written by Robby
Craft It All
This is a great guide for beginners. In my own experience making silicone molds, the biggest battle was always air bubbles! I didn’t have a vacuum chamber when I started, so I learned the hard way that pouring the rubber in a thin, high stream helps break them before they hit the model. It’s a messy process but so satisfying when you finally demold that first perfect cast.
This guide is really helpful for beginners because it breaks down mold‑making in a simple, approachable way. I like how it explains what a rubber mold actually is and why it’s so useful for different crafts—it makes the whole process feel much less intimidating. It’s a great starting point for anyone wanting to try DIY casting at home.