
 By Robby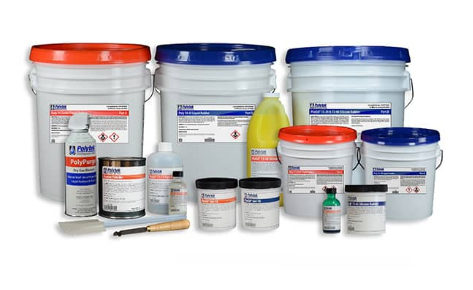
Types of Rubber and Their Versatility
If you’re trying to choose a type of rubber for making a mold, the number of different names and types can quickly become confusing.
When I started out in the precast industry, liquid mold-making rubbers were only just becoming readily available to the general market. Since then, I’ve watched many new formulations and variations appear. Food-grade, high-temperature silicones came along much later, and I first came across them in 2001.
The technology hasn’t stopped developing either. Even after decades of working with these materials, I still have to update my own knowledge from time to time. Silicone in particular has changed considerably. Some of today’s low-viscosity formulations are designed to release trapped air so effectively that, under the right conditions and for the right type of mold, vacuum degassing may not even be necessary.
So if all the different names and specifications seem confusing, you’re certainly not alone. The important thing isn’t knowing every type of rubber that exists. It’s understanding which one is right for the job you’re trying to do.
For conventional mold making, the three main types of rubber you’re most likely to encounter are:
- Silicone rubber
- Polyurethane rubber
- Liquid latex
Within those groups there are important differences, particularly with silicone. Choosing the right material can make a considerable difference to how easy the rubber part of the mold is to make, how accurately it reproduces detail and how long it lasts.
In this guide, I’ll look at those differences, explain some of the other types of rubber names you’re likely to come across, and help you narrow down which type of rubber is most suitable for your project.
I/We promote transparency. This post or site may contain affiliate links. This means only if you make a purchase through these links, not just by clicking, I/we may earn a small commission at no extra cost to you.
As an Amazon Associate, I earn from qualifying purchases
If You Want My Quick Answer
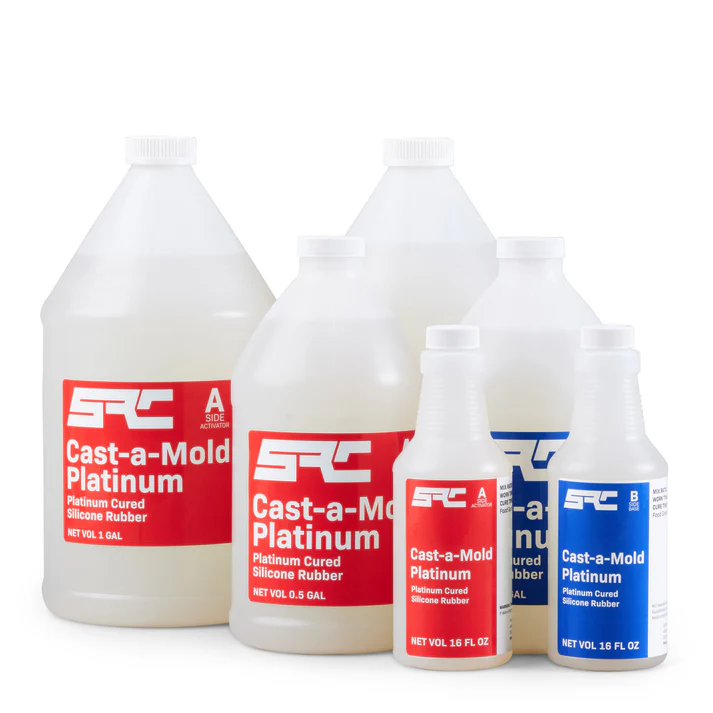
I could short-circuit much of this decision for you. If budget isn’t the main consideration, my first choice for most general rubber mold-making projects would be a good-quality, high-temperature, food-grade silicone.
After that, you’re mainly choosing the hardness and other properties that suit the mold you’re making and, if the manufacturer offers a choice, the colour you prefer, or you can add a little of your own color which is very handy for identifying a group or types of molds.
That doesn’t mean it’s the only rubber that will do the job, or even the most economical choice for every project. That’s why the rest of this guide is worth reading.
But if you asked me what I would reach for first, that’s where I would start.
Table of Contents
A Short Note Before We Start
There is rarely only one correct way to make any mold.
Different mold makers develop different techniques depending on the materials they use, the objects they reproduce, the type of casting they intend to produce and how many times the mold will be needed.
The information in this guide reflects the methods and materials I have used during many years of practical mold making and production. Other methods can possibly work equally well.
The important thing is understanding why you’re choosing a particular rubber rather than simply buying one because somebody said it was “the best.”
Quick Guide: Which Mold Rubber Should I Consider?
As a starting point:
| Your project | Rubber to consider |
| General detailed mold making | Tin-cure or platinum-cure silicone |
| Highly detailed or complicated shapes | Silicone |
| Food-contact molds | Certified food-contact silicone |
| Durable production molds | Silicone or polyurethane, depending on the casting material |
| Large or small molds where material cost is important | Polyurethane may be worth considering |
| Heavy or coarse precast stone production | Polyurethane |
| Brush-on or built-up molds | Silicone, polyurethane or latex depending on the project |
| Simple, low-cost molds with limited use intended | Liquid latex may be suitable |
| Molds with deep undercuts | Usually a flexible silicone |
| Heat-resistant applications | Suitable high-temperature silicone |
This is only a starting point.
The master you’re molding, the material you intend to cast into the finished mold, the number of castings you want, the complexity of the shape, your budget and even the intended storage conditions can all influence the final choice.
What Does “Liquid Rubber” Actually Mean?
In mold making, liquid rubber is a broad description for a material that starts as a liquid or pourable mixture and cures into a flexible rubber mold.
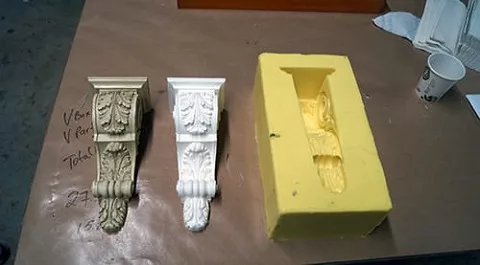
You pour or brush the uncured material around or over the original object, normally called the master or model.
Once cured, the rubber retains the negative shape and surface detail of that master. Your casting material can then be poured into the finished mold to reproduce it.
That casting material might be resin, plaster, cast stone, wax, soap, expanding closed-mold foam or many other materials.
This ability to reproduce fine detail while still being flexible enough to release the finished casting is what makes rubber molds so useful.
The Three Main Types of Rubber for Mold-Making
Silicone Rubber
Silicone is probably the mold-making rubber most beginners will encounter first.
It is flexible, capable of reproducing extremely fine detail and available in a huge range of formulations and hardnesses.
Silicone molds can be used for everything from small craft projects and decorative pieces to much larger professional production molds.
But “silicone rubber” does not describe one single product.
Different silicones have different:
- Mixing ratios
- Viscosities
- Working times
- Cure times
- Shore hardnesses
- Tear strengths
- Temperature resistance
- Chemical resistance
This is why I would never tell somebody that silicone is mixed at a particular ratio.
Some products are mixed 1:1. Others use completely different ratios. Some are measured by weight rather than volume.
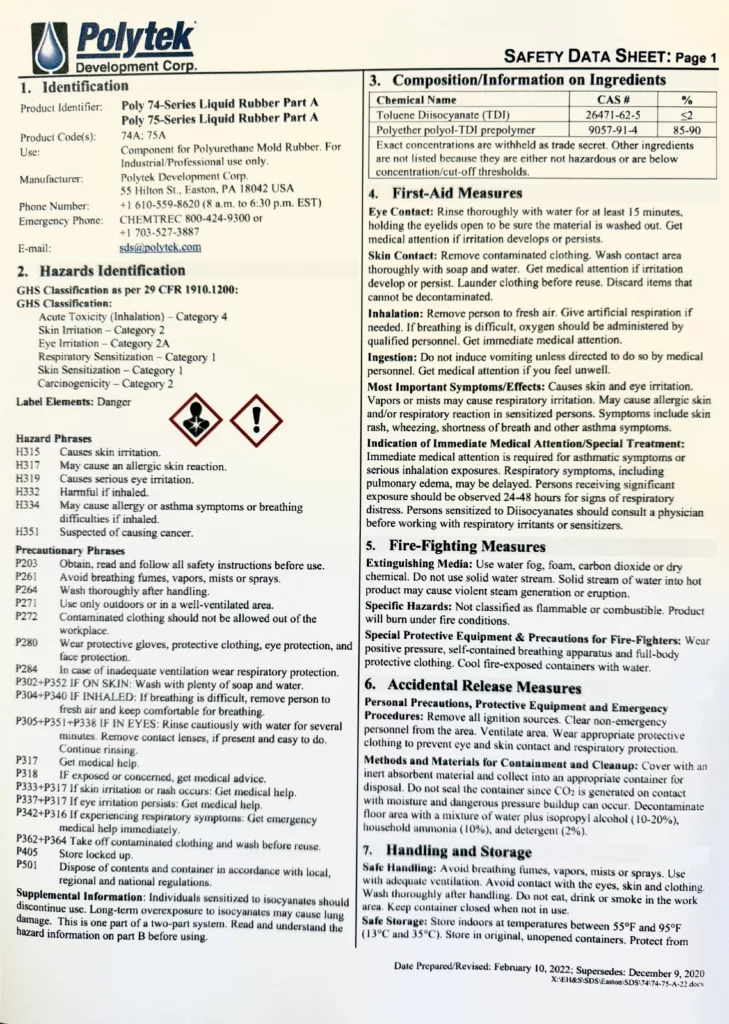
Always use the ratio and measuring method specified by the manufacturer for the particular silicone you’ve purchased. And when you purchase a product ask for the Safety Data Sheet (SDS) and the product technical data information. A lot of companies now automatically email this information after a purchase, which I personally like as its “Green” and I can file it on my computer.
And one important point for beginners: the silicone sealant you use around a bath, shower or window is not the same thing as a purpose-made liquid RTV mold-making silicone.
If you’re making molds, buy a product designed for mold making.
Tin-Cure Silicone
Tin-cure silicone is also known as condensation-cure silicone.
It has been widely used for general mold making for many years and can be an excellent choice for reproducing sculptures, decorative pieces, architectural details and many other masters.
It is generally less susceptible to cure inhibition than platinum silicone, which can make it more forgiving when working with certain masters and materials.
Depending on the product, it can also be less expensive than platinum-cure silicone.
Its disadvantages can include greater shrinkage and a shorter useful mold life than some platinum silicones.
For many general mold-making jobs, however, tin-cure silicone remains a very practical material.
Silicone rubber mold making is also used in professional prototyping and manufacturing. Carnegie Mellon University has an interesting example showing the basic process of preparing a master, making a silicone mold and producing a polyurethane casting.
You can see their example here: [Carnegie Mellon University Silicone Mold Procedure].
Platinum-Cure Silicone
Platinum-cure silicone is also known as addition-cure silicone.
It normally offers excellent dimensional stability, low shrinkage and potentially very long mold life.
Many platinum silicones are extremely flexible and have excellent tear strength, making them particularly useful for detailed molds and shapes containing undercuts.
However, platinum silicone has one characteristic every beginner needs to understand: cure inhibition.
Certain materials and contaminants can prevent the silicone from curing properly.
That doesn’t mean platinum silicone is difficult to use. It means you need to understand what your master is made from, what has been used on its surface and whether those materials are compatible with your chosen silicone.
I’ve made mistakes in this area myself. Sometimes you aren’t even aware that there’s a problem until you begin demolding. By then, it can mean starting again with both the mold and, in some cases, the model.
Whenever there’s doubt, a small compatibility test is cheap insurance compared with losing an entire mold.
Food-Grade Silicone
“Food grade” is another term that can cause confusion.
Not every silicone is automatically suitable for direct food contact simply because it is silicone.
If you’re making molds for chocolates, sweets, baking or another food-contact application, use a silicone specifically certified by its manufacturer for the intended food-contact use.
Many food-contact mold-making silicones are platinum-cured, but don’t simply assume that because a product is platinum silicone it is automatically suitable for food.
Check the manufacturer’s technical information for the actual product details.
Polyurethane Rubber
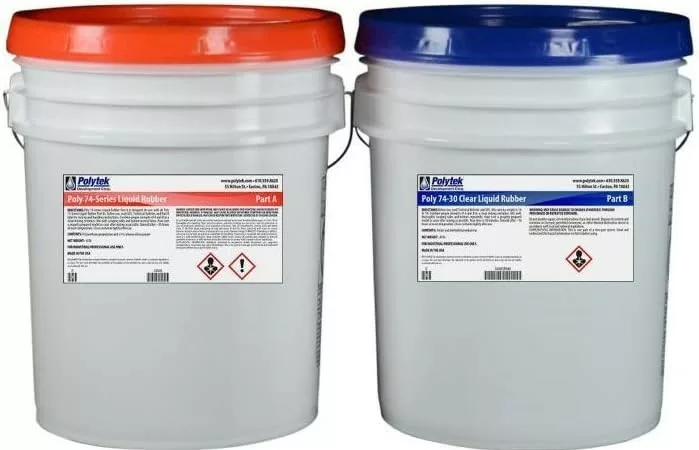
Polyurethane, usually shortened to PU, is another major mold-making material.
PU rubber can produce strong, durable molds and is available in a range of hardnesses and formulations.
It can be particularly useful for production molds and larger projects where its physical properties and cost may make it attractive compared with silicone.
Like silicone, polyurethane rubber is normally supplied as a multi-part system that must be measured and mixed correctly.
Again, there is no universal mixing ratio or measuring method. Depending on the product, components may be measured by weight or volume.
I once had a product from China whose instructions appeared to tell me to use both methods. I still haven’t figured that one out.
The safer rule is simple: follow the manufacturer’s instructions for the exact product you’re using, and if those instructions aren’t clear, ask the supplier before mixing it.
One of the biggest differences a person starting out should know and understand is moisture sensitivity.
Polyurethane systems can react badly with moisture during mixing and curing. Moisture contamination can produce bubbles, foaming and other defects.
That means your master, mixing equipment, fillers if used, and working conditions all need consideration. Your work area and even the weather conditions can occasionally become part of the equation.
PU rubber can be an excellent mold-making material, but it isn’t simply a cheaper version of silicone. It behaves differently and should be treated as a different material. I have used 1000’s of gallons of this product with only a rare problem in this area. Normally by an inexperienced person who was being trained up.
Liquid Latex Rubber
Liquid latex is one of the oldest and simplest ways of producing certain types of flexible mold.
Unlike the usual two-part silicone and polyurethane systems, mold-making latex is commonly supplied as a single liquid. Similar to a thick paint
Rather than pouring one thick mold and leaving it to cure, latex molds are often built up in multiple layers, allowing each layer to dry before applying the next. Drying times vary greatly by thickness applied, humidity and temperature are the main ones.
This makes it useful for certain shapes, particularly where a relatively thin flexible skin mold is required.
Latex can also be considerably less expensive than silicone.
There are disadvantages.
Building sufficient thickness can take time, shrinkage can be greater, and latex generally does not offer the same dimensional stability or mold shelf life as a good silicone.
Natural latex can also cause allergic reactions in some people.
It still has its place. It just isn’t automatically the best choice because it is inexpensive.
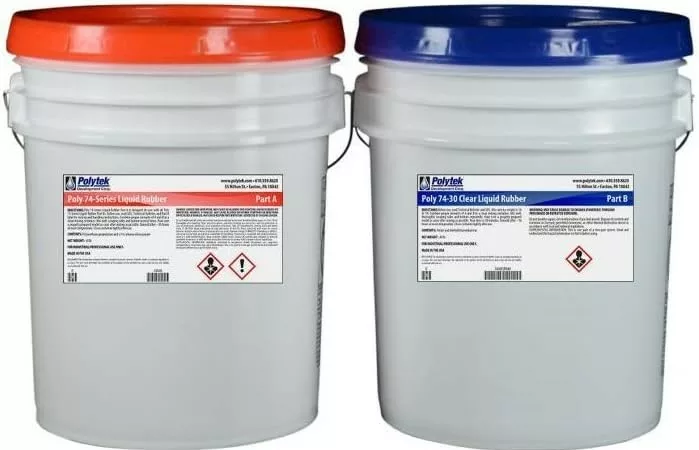
I’ve used Polytek mold-making materials professionally for many years, so they are products I know and trust from practical experience. Specialty Resin & Chemical (SRC) is part of Polytek and carries their full line of products, including a wide range of mold-making rubbers, making it a useful place to compare the different options discussed above.
You can compare the available products here: [View Mold-Making Rubbers at SRC].
RTV and HTV: What Do These Terms Mean Relating to TYpes of Rubber?
This is another area where terminology can make something fairly simple sound complicated.
RTV means Room Temperature Vulcanizing.
In practical terms, an RTV rubber cures without requiring industrial high-temperature curing equipment.
Most liquid silicone mold-making products a hobbyist or small workshop encounters are RTV materials.
HTV means High Temperature Vulcanizing.
These rubbers require elevated temperatures during processing and are more associated with industrial manufacturing than the sort of pourable mold-making systems most beginners will use.
So if you’ve seen “RTV rubber” mentioned online, don’t assume you’ve discovered a completely different fourth type of mold-making rubber.
It describes how the material cures rather than identifying a completely separate rubber family.
Other Types of Rubber Names You May Come Across
I’ve deliberately included this section because searches for “types of rubber” can produce a bewildering list.
These materials are real and important rubbers. They simply aren’t normally what a beginner is looking for when choosing a pourable rubber for conventional mold making.
Neoprene or Chloroprene Rubber
Neoprene is well known for resistance to weathering, oils and a range of environmental conditions.
You’ll find it used in products such as seals, hoses, protective products and wetsuits.
It has specialist industrial applications, but it is not one of the normal first choices for the type of liquid mold making we’re discussing here.
Nitrile Rubber or NBR
Nitrile is particularly well known for its resistance to oils and fuels. Most people will also have encountered nitrile in PPE, particularly disposable gloves used in medical, workshop and industrial environments.

It is also extremely useful for seals, hoses, gaskets and other automotive and industrial applications.
Again, if you’re trying to make a conventional flexible casting mold, this probably isn’t really the rubber you’re looking for.
EPDM Rubber
EPDM has excellent resistance to weather, ozone and outdoor exposure.
It is widely used for roofing membranes, weather seals and other exterior applications.
You may encounter the name frequently when researching rubber, but it isn’t normally competing with silicone or polyurethane as your choice of pourable mold-making rubber.
Butyl Rubber
Butyl rubber has very low gas permeability, making it valuable where an airtight seal is important.
It is used in products including inner tubes, seals and other specialist applications.
Useful rubber, but probably the wrong shopping list for most mold makers.
Fluorosilicone Rubber
Fluorosilicone combines characteristics of silicone with improved resistance to fuels and certain chemicals.
That makes it valuable in demanding specialist applications including aerospace and automotive work.
Unless your mold has unusual chemical-resistance requirements, this isn’t where I would send a beginner first.
Don’t Choose a Mold Rubber by Name Alone
Once you’ve narrowed your choice to silicone, polyurethane or latex, there is another level to consider.
Two products both labelled “silicone mold-making rubber” can behave very differently.
Some of the specifications worth understanding are:
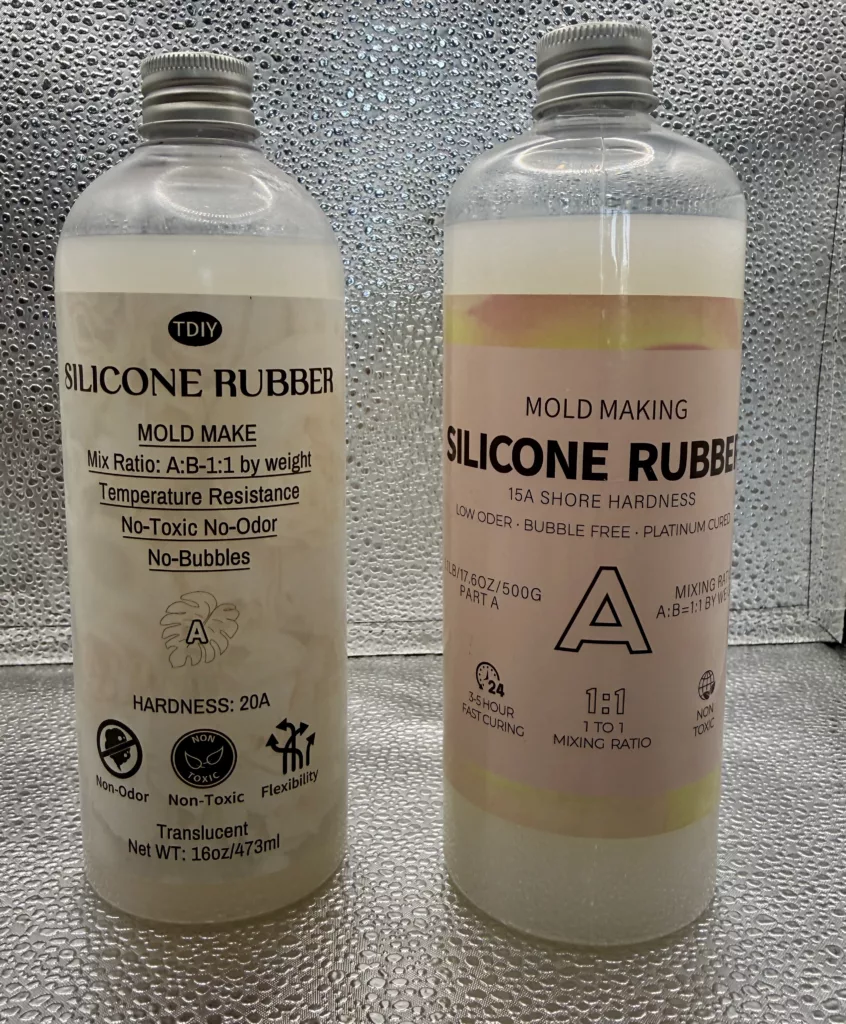
Shore Hardness Relates to Most Types of Rubber
Shore hardness tells you how hard or soft the cured type of rubber is.
A very soft rubber can flex easily around complicated shapes and undercuts, but that doesn’t automatically make softer better.
Large molds or molds requiring greater dimensional stability may need a firmer rubber, a supporting mother mold, or sometimes just a simple frame supporting the perimeter.
Shore hardness deserves a guide of its own, but for now remember that the number on the container matters.
Tear Strength
Tear strength describes the types of rubber and it’s resistance to a tear continuing once it has started to tear.
This becomes particularly important with molds containing thin sections, deep details or difficult undercuts.
A very flexible rubber isn’t much use if it tears every time you demold a casting.
Elongation
Elongation tells you how far the rubber can stretch before breaking.
High elongation can be extremely useful when removing complicated castings from flexible molds.
But elongation and tear strength need to be considered together rather than simply looking for the biggest percentage on a technical data sheet.
Viscosity
Viscosity describes how easily the uncured types of rubber flows.
A lower-viscosity rubber can flow into very fine surface detail and may release trapped air more readily.
Thicker materials may be useful in other situations, particularly when brushing rubber onto vertical surfaces.
This is also where vacuum degassing may enter the picture.
Some low-viscosity mold-making silicones can release a great deal of entrapped air, the dreaded bubbles, naturally when mixed and poured correctly. Other materials and more demanding molds can benefit from vacuum degassing.
How Working Time and Cure Time Affects Types of Rubber
These are not the same thing.
Working time, sometimes called pot life, tells you approximately how long you have after mixing before the rubber becomes too far advanced to work with properly.
Cure time tells you when the rubber has cured sufficiently for the next stage specified by the manufacturer.
A very fast cure sounds attractive until you’re halfway through pouring a complicated mold and discover you didn’t actually have enough working time.
For beginners, a sensible working time is often more valuable than simply buying the fastest-curing product.
Think About What You Will Cast Into the Mold
Choosing the types of rubber isn’t only about the master or model.
You also need to consider what you intend to cast into the finished mold.
A mold intended for wax or soap may face very different conditions from one repeatedly used for resin, plaster or cast stone.
Consider:
- Casting temperature
- Chemical compatibility
- Required flexibility
- Number of castings expected
- Complexity of the casting
- Amount of wear the mold will receive
- Whether a release agent will be required and how easily it can be applied
- Whether the mold must be certified for food contact
- How and where the mold will be stored
That’s why I learned to choose the types of the rubber by working backwards from the finished project. After years of doing it, that decision has become almost automatic for me.
Start with what you want to reproduce and what you intend to cast. Then choose the mold material that suits those conditions. Then it may just be a budget challenge.
Cost: Cheapest Isn’t Always Cheapest
Rubber can represent a significant part of the cost of making a mold, particularly on larger projects.
But comparing types of rubber purely by the price of the container can be misleading, but important for many.
Sometimes a less expensive rubber that will produce only a limited number of satisfactory castings is exactly the right choice. For example, a client may have paid for a custom mold that is only intended to produce the pieces required for that particular job. There may be no financial benefit in making a mold capable of years of production.
At the other end of the scale, I’ve had both silicone and polyurethane molds remain in service for years.
If you’re producing repeatedly from the same mold, a more expensive rubber that gives you many more satisfactory castings may actually be considerably cheaper per finished casting.
The same applies to mistakes.
Saving a small amount on an unsuitable rubber doesn’t look particularly economical after you’ve lost the rubber, the master, several hours of work and perhaps your mold box as well.
Look at value and intended use rather than simply the purchase price.
Basic Safety When Working With All Types of Rubber
Always start with the manufacturer’s Safety Data Sheet and technical data for the actual product you’re using.
As general workshop practice:
- Work in suitable ventilation.
- Wear appropriate gloves and eye protection.
- Avoid unnecessary skin contact.
- Keep containers properly closed when not in use.
- Store materials under the conditions specified by the manufacturer.
- Keep moisture-sensitive materials dry.
- Don’t assume all types of rubber have the same handling requirements as another.
- Check the manufacturer’s requirements before using any mold for food-contact applications.
If you’re unsure about a particular product, ask the manufacturer or supplier before using it.
So Which Types of Rubber Should a Beginner Choose?
If you’re making your first general-purpose mold, a purpose-made RTV silicone is often the easiest place to start.
That doesn’t mean silicone is always the best material.
Polyurethane can be an excellent choice for many production molds, and latex remains useful for particular types of work.
The important thing is to stop thinking in terms of “Which rubber is best?” and instead ask:
“Which rubber is best for this mold, this master and the material I intend to cast?”
Once you answer those three questions, choosing the right rubber becomes much easier. Admittedly, in practice and particularly on a larger scale, budgets and cash flow also play a part. I have bought polyurethane rubber many times when silicone would have been the better choice for easier production and maintenance, simply because the economics of the job dictated otherwise.
And if you’ve been searching for neoprene, nitrile, EPDM or some other rubber because that was the name you happened to find online, hopefully you now know whether you actually need it or whether silicone, polyurethane or latex was the “rubbery stuff” you were looking for all along.
What To Do Next
Once you’ve chosen the type of rubber, the next step is learning how to prepare the master, build the mold box, mix the rubber correctly and pour it without introducing unnecessary problems.
Our beginner guide to making a rubber mold at home takes you through that complete process from the original master to the finished mold. You can move to that post by clicking here.
As this site grows, I’ll also be covering the individual subjects in more detail, including Shore hardness, silicone types, polyurethane mold rubber, vacuum degassing and choosing rubber for different casting materials.
The aim isn’t to make mold making complicated.
It’s to understand enough about the materials to make the right choice before you pour a large quantity of expensive rubber into the wrong place.
Robbie